


Whether it’s for the holidays, a birthday or just a random day, homemade gifts show love and appreciation like nothing else. Taking the time to write a letter, sculpt a trinket or make a craft is a great way to connect — dedicating time to making something special is an intentional gesture that is bound to bring a smile to the receiver’s face.
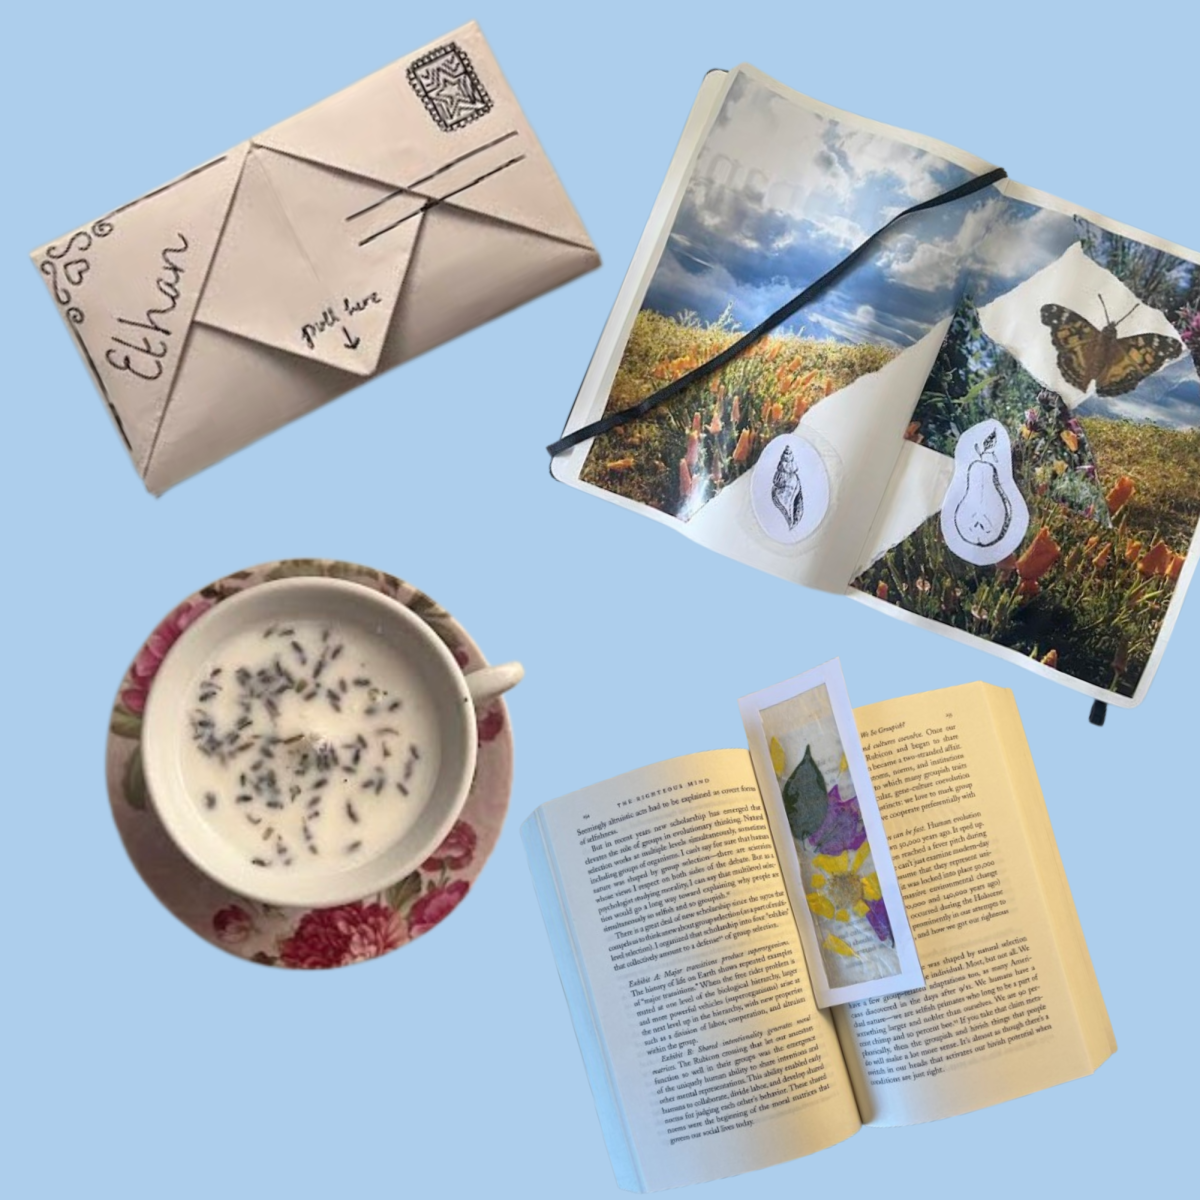
Candle in a tea cup
A candle is a popular gift, and for good reason. Fortunately, such a classic gift can be personalized and made more special quite easily:
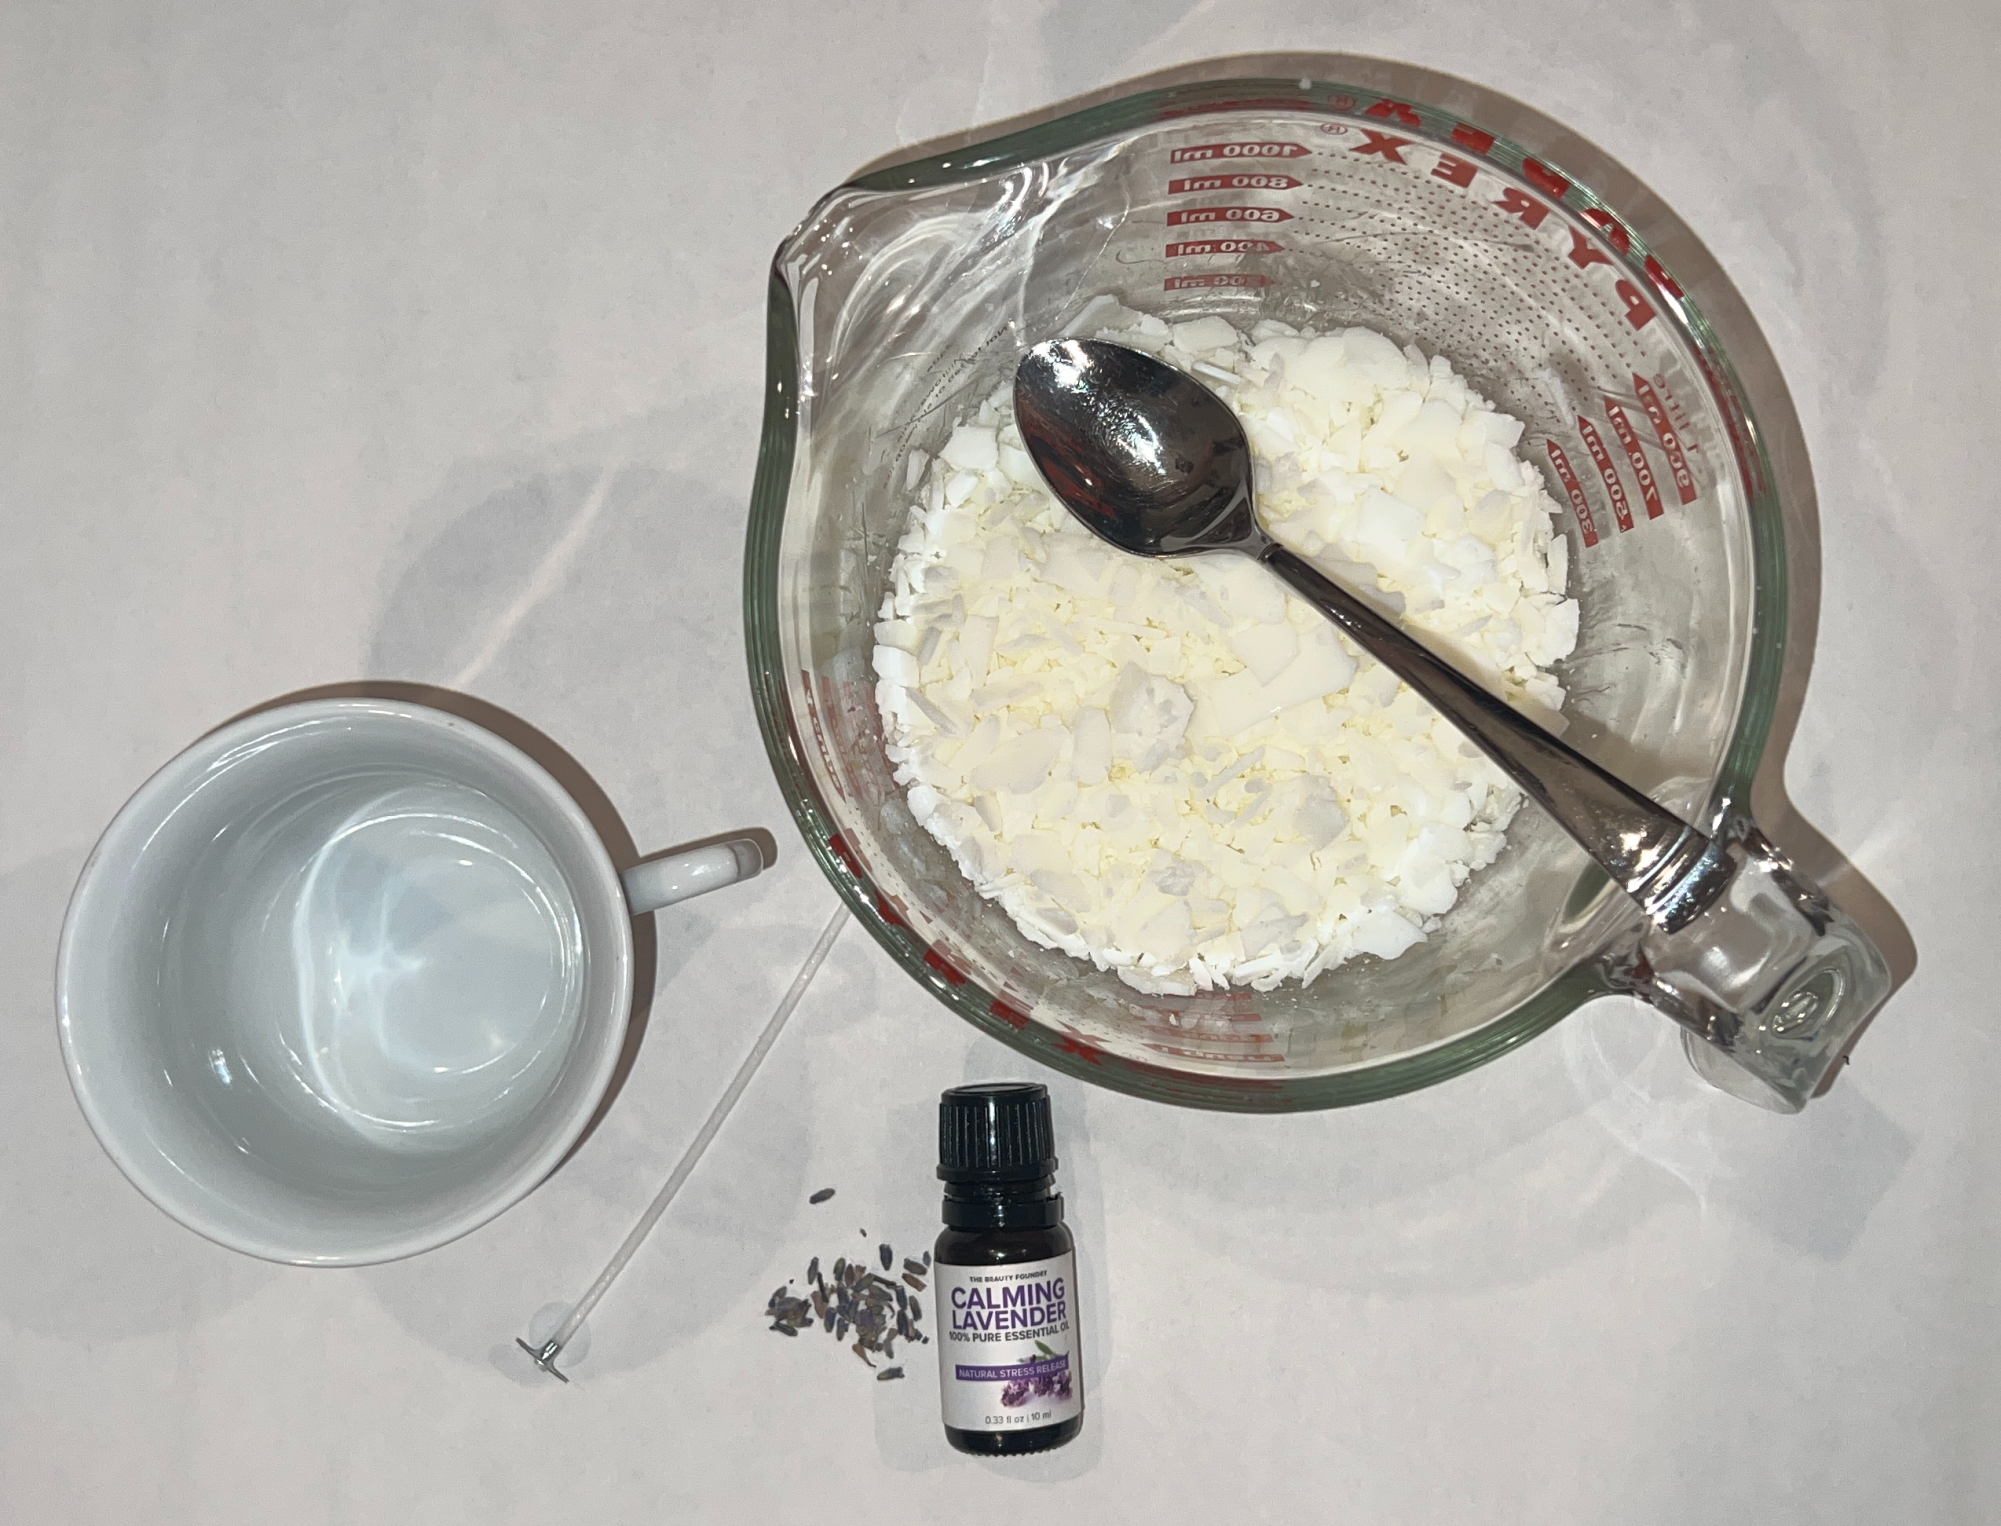
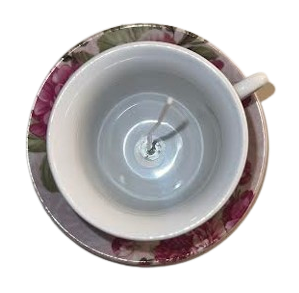
1. Pick up a cute tea cup or mug from the thrift store, and give it a good wash.
2. Use hot glue or wax to secure a wick to the center of the bottom of the cup.
3. Melt wax melts in a double broiler or in short intervals of about 30 seconds in the microwave until fully melted.
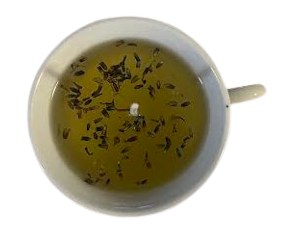
4. Mix in any essential oils like lavender or peppermint to add a nice scent.
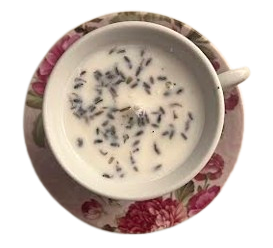
5. Carefully pour the wax into the tea cup, leaving about half an inch of space at the top, and adjust the wick to ensure it’s in the center. Hiding a crystal or a piece of jewelry (wrapped in tin foil) in the center or sprinkling some dried herbs on top is always a fun addition.
6. Allow the wax to cool and harden overnight, and cut the wick to about half an inch above the surface.
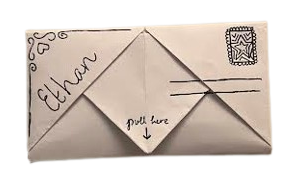
Decorated envelope card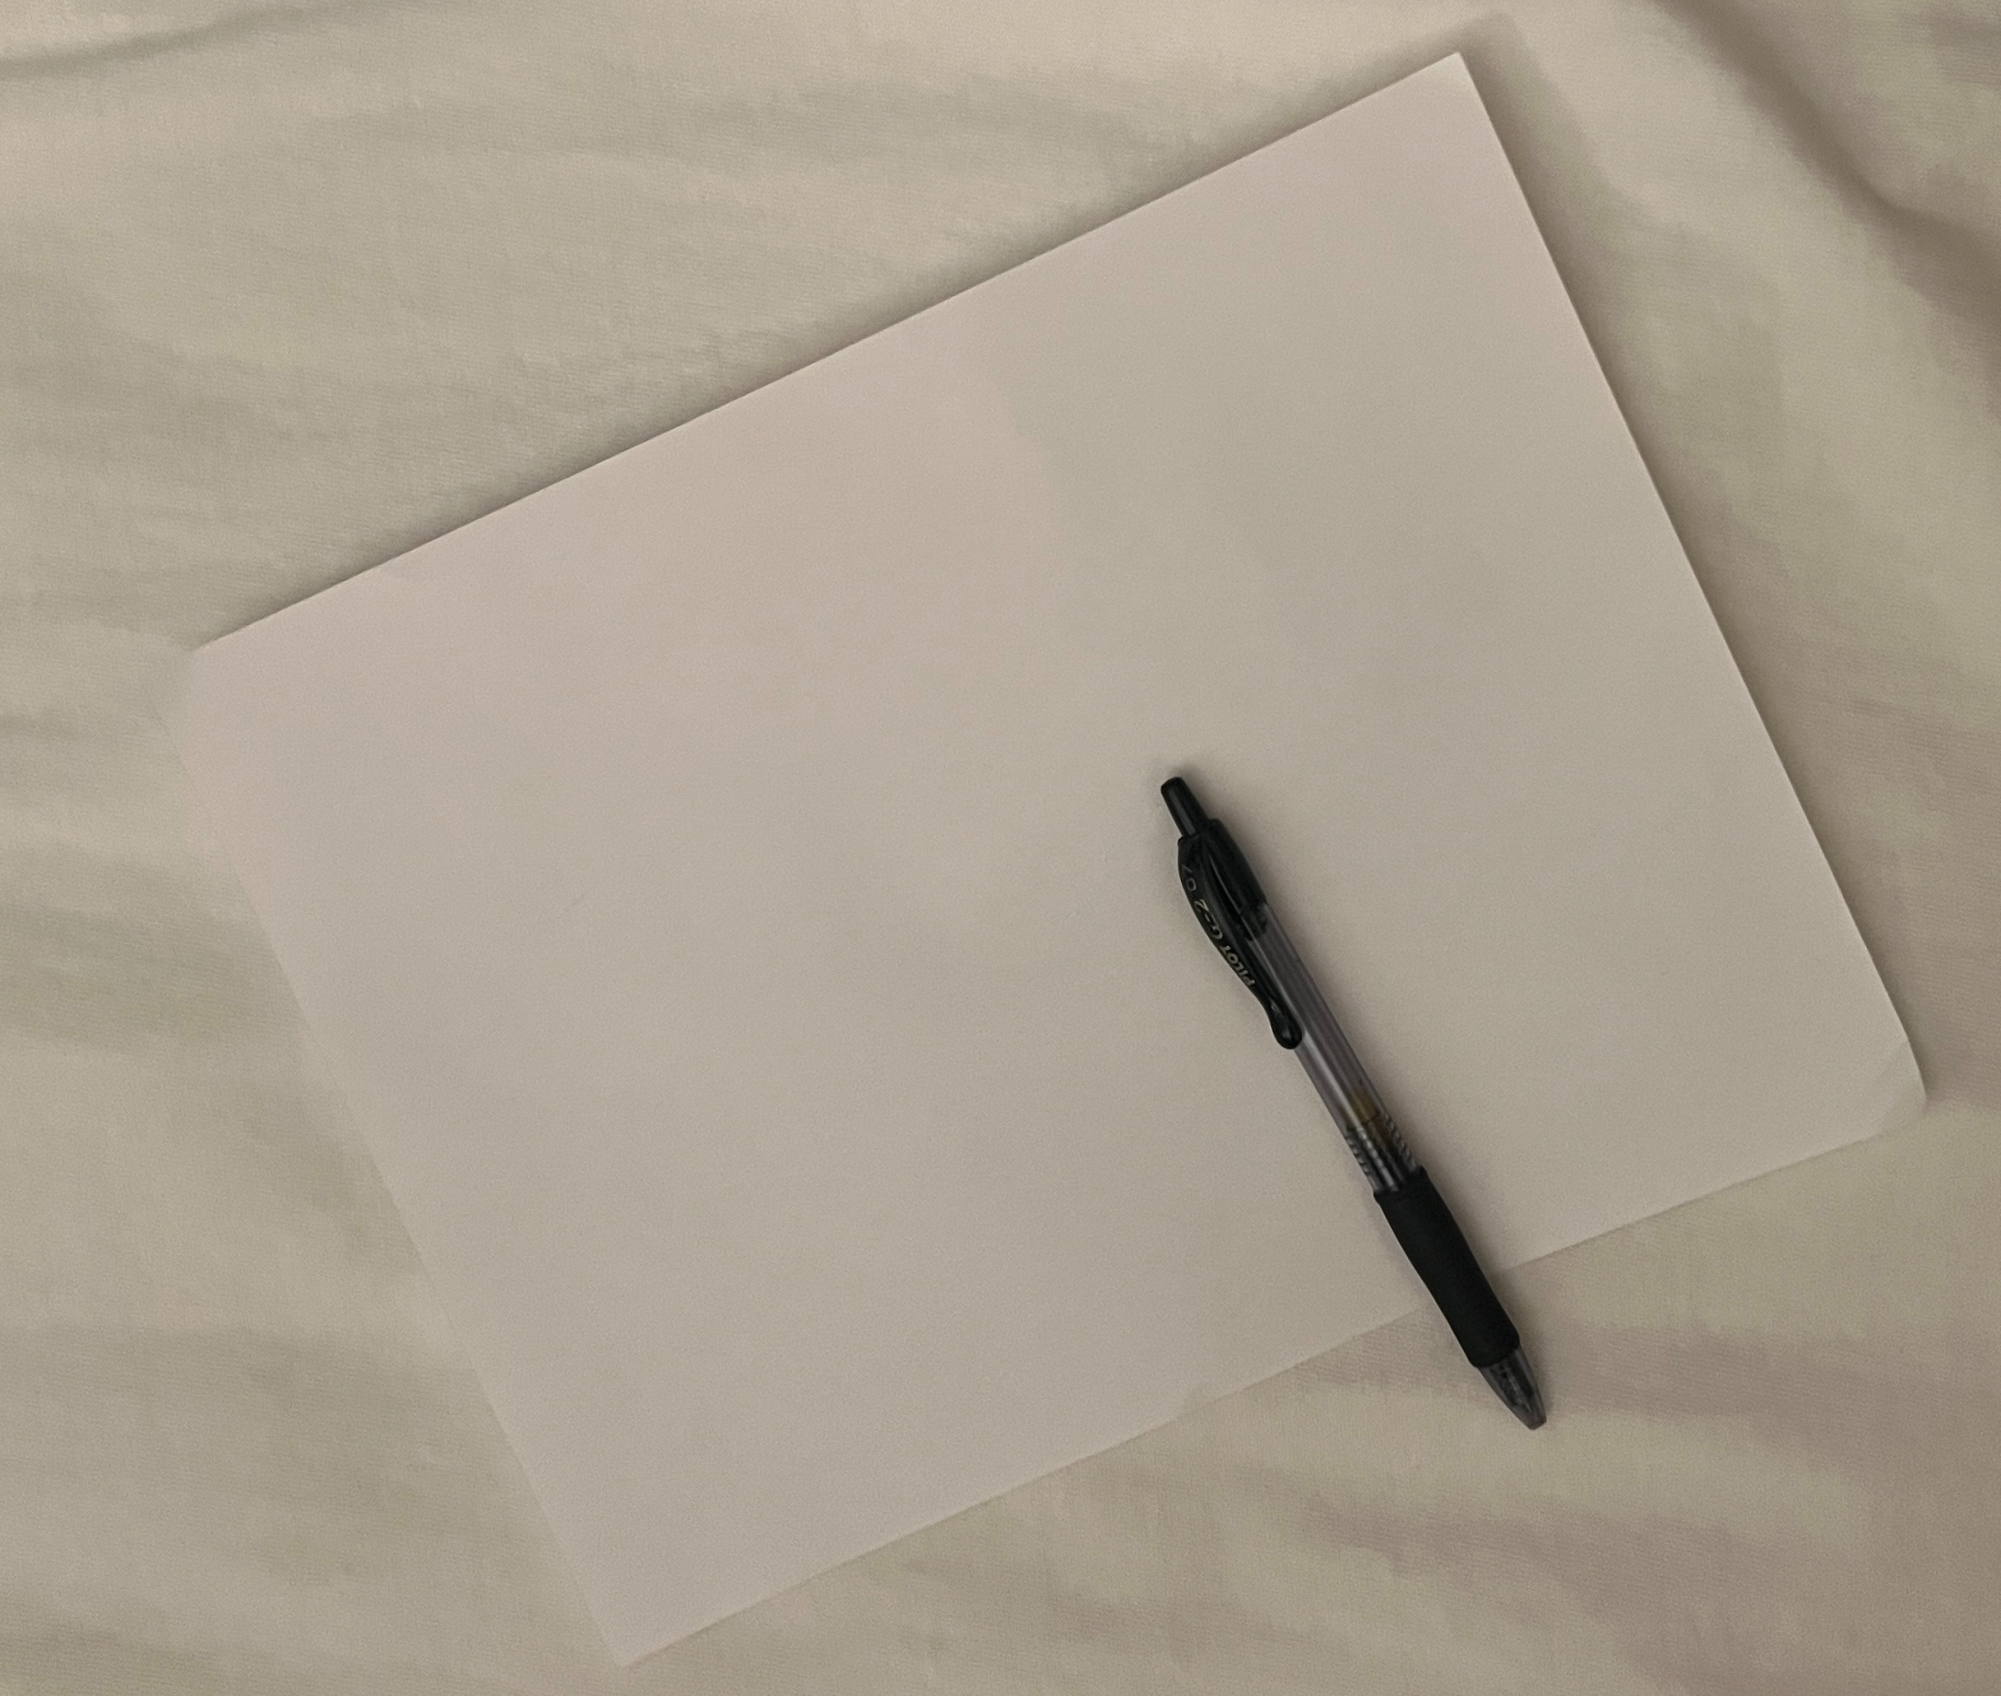
A card is great for those who are sentimental and really appreciate some words of love over a physical item. Something as easy as folding the paper in a fun way and adding some little drawings really takes it up a notch. Here’s what to do:
1. Grab an 8.5 by 11 piece of printer paper or mixed media paper depending on how you would like to decorate it.
2. Fold in half vertically.
3. Fold in the four corners.
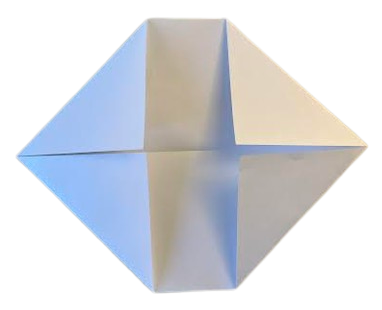
4. Fold in the two sides to reach the center.

5. Fold the triangles in to make a rectangle.
6. Flip over the paper and fold up one third until a nice envelope shape is created.
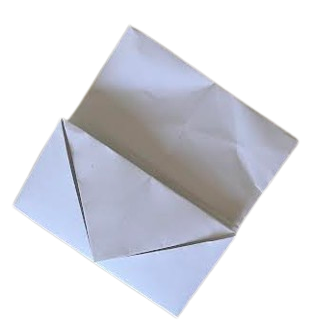
7. Fold the other side on top and make a nice crease.

8. Tuck the corners of the top envelope into the bottom one.
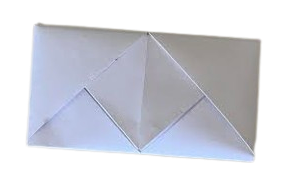
9. Unfold to decorate and write. Fold back together to gift.
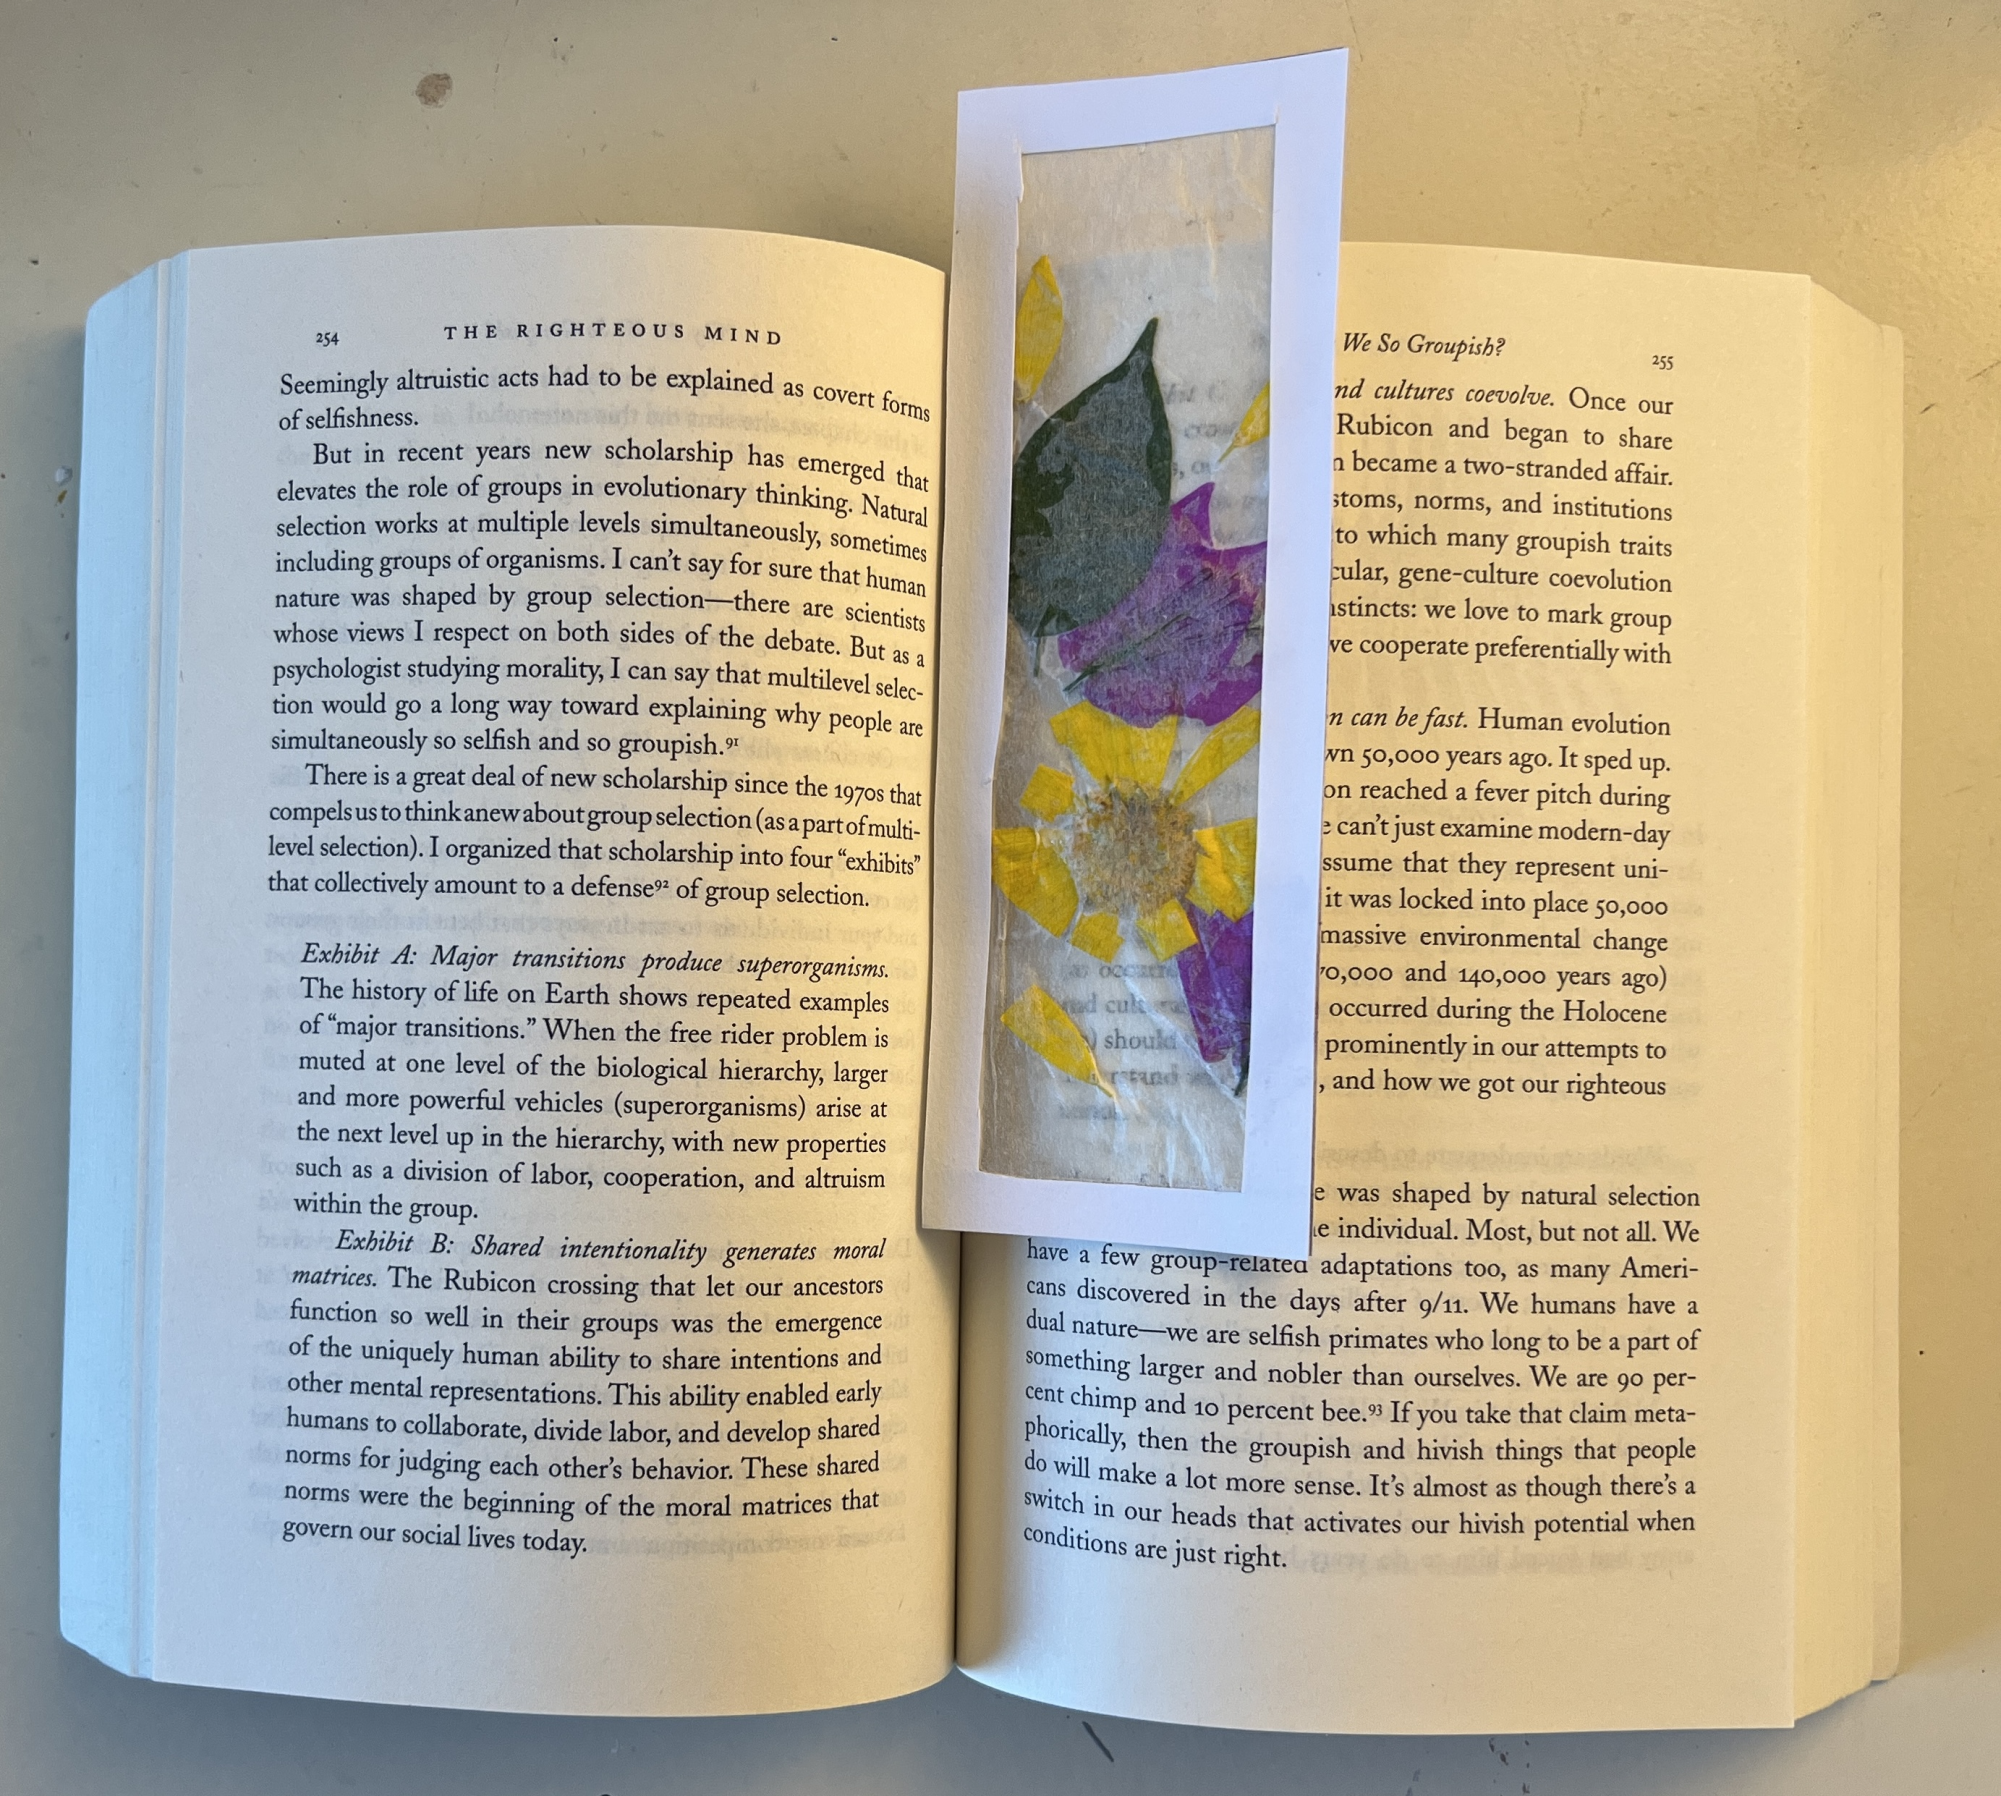
Bookmark with pressed flowers
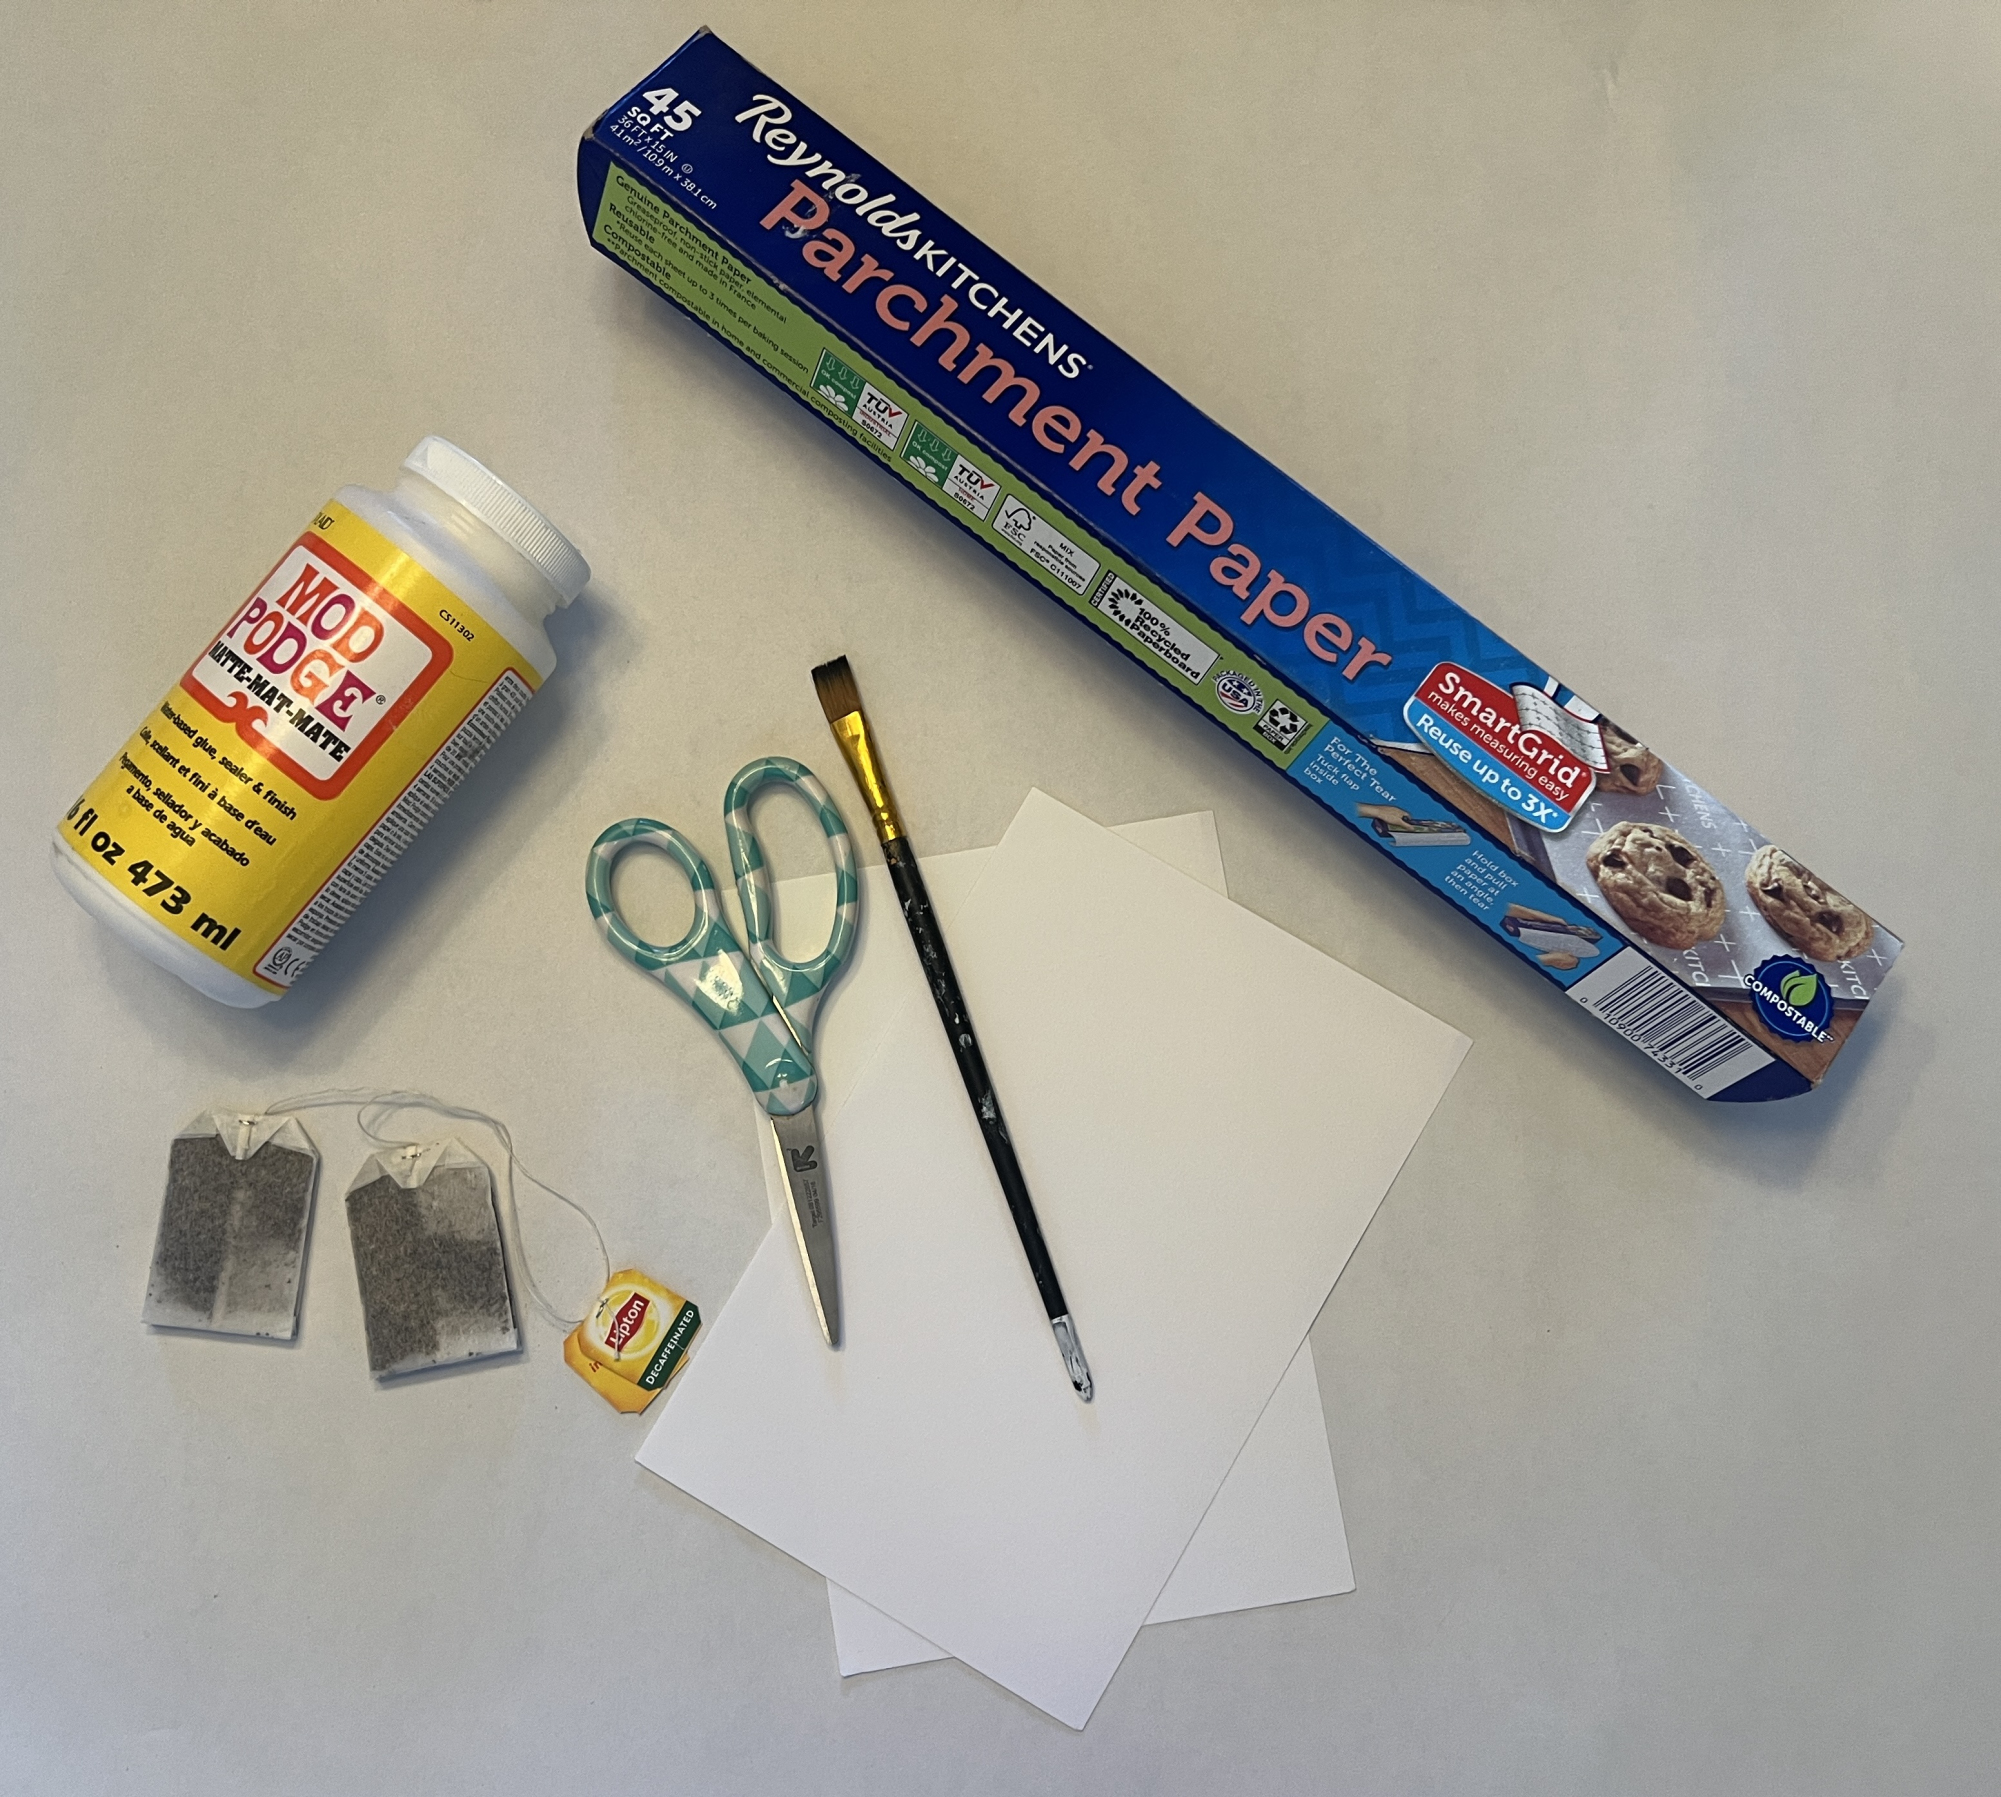
A special bookmark decorated with pressed flowers and greenery is such a sweet gift if you’re able to plan a few days ahead:
1. Gather a few small flowers (cut close to the bud).
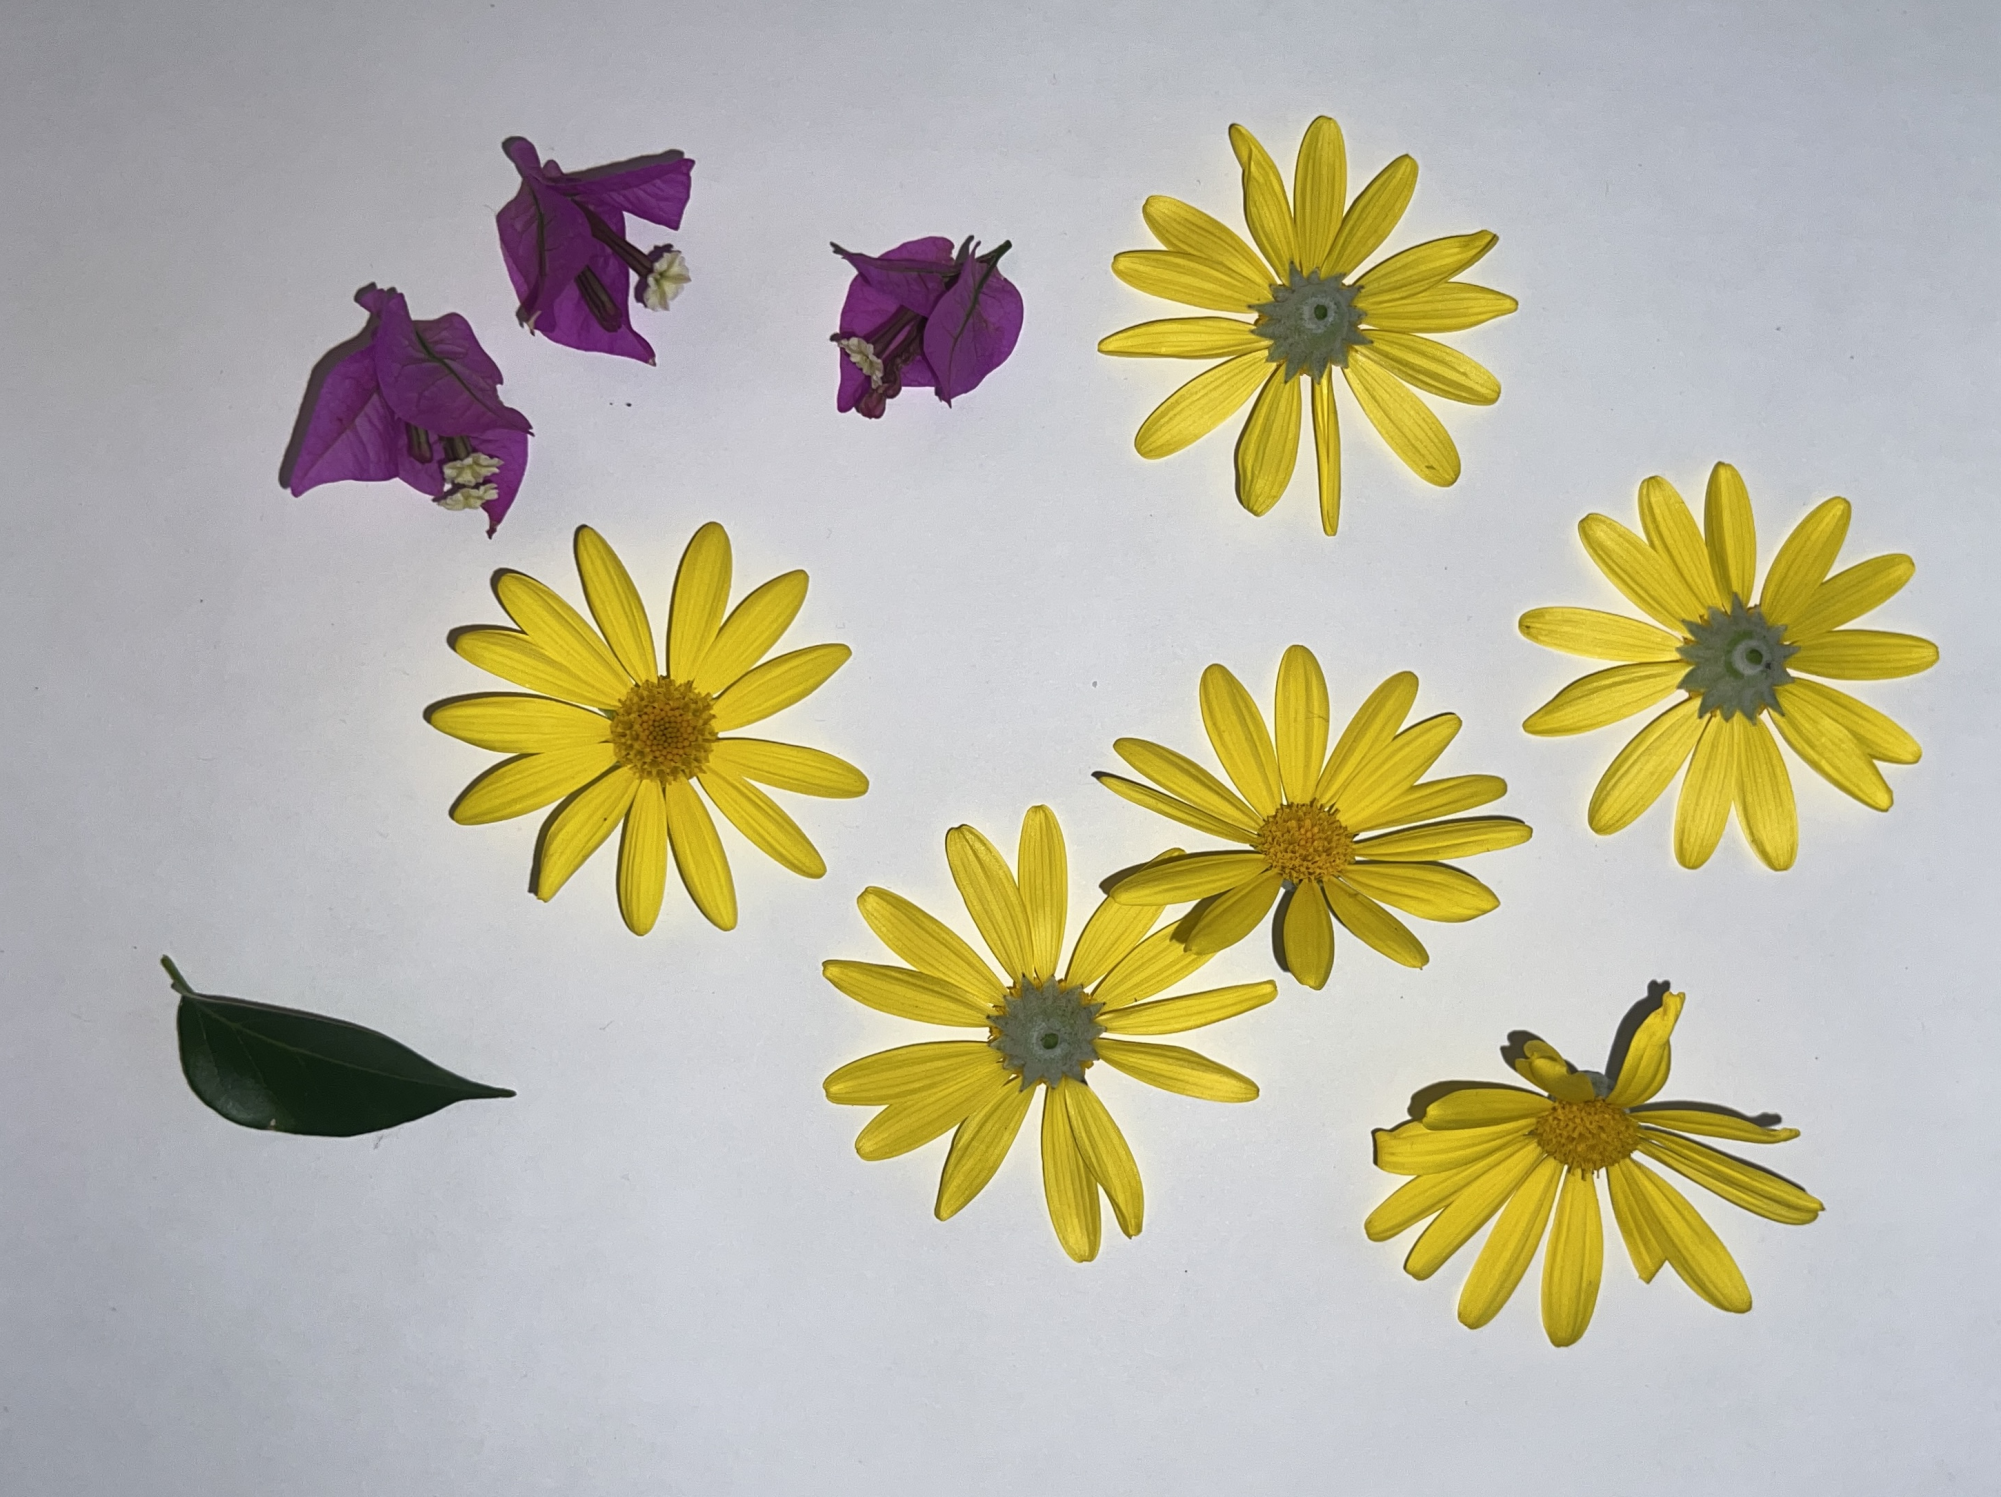
2. Place your gatherings in between two paper towels and leave a stack of heavy books on top. Leave to press for a couple days up to a few weeks (depending on the thickness of the pieces chosen).
3. The day the flowers are ready, open up two tea bags, and dump out the leaves. Lay them open, flat on a piece of parchment paper.
4. Use a paint brush to cover one side of one of the tea bags in a layer of Mod Podge, and place the flowers on top.
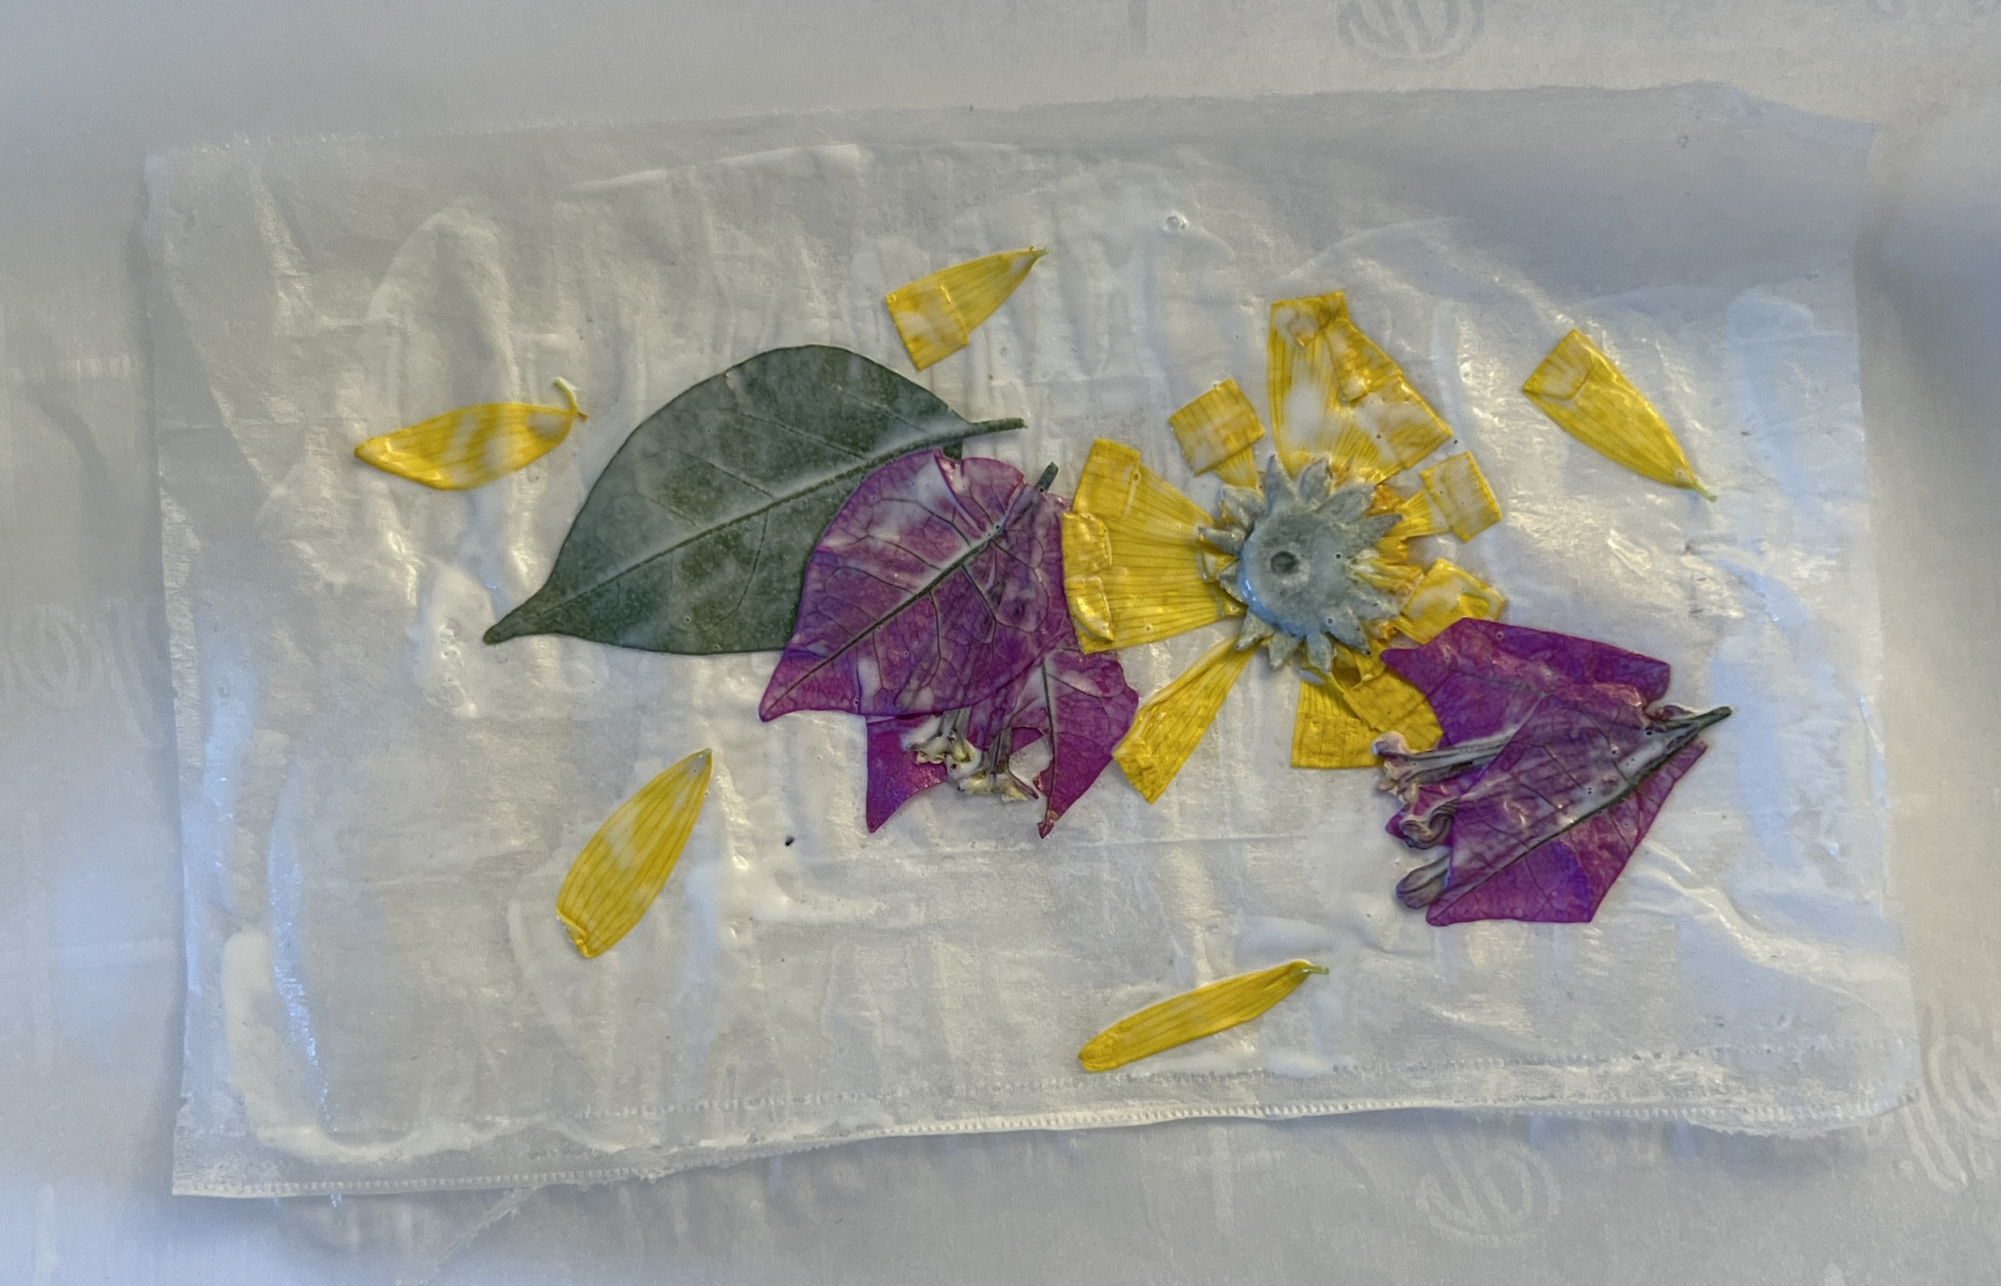
5. Carefully cover the greenery in Mod Podge as well.
6. Coat the other tea bag in Mod Podge, and place it on top of the flowers.
7. Once dry, cut into a nice bookmark size. Additionally, cut two “frames” out of card stock.
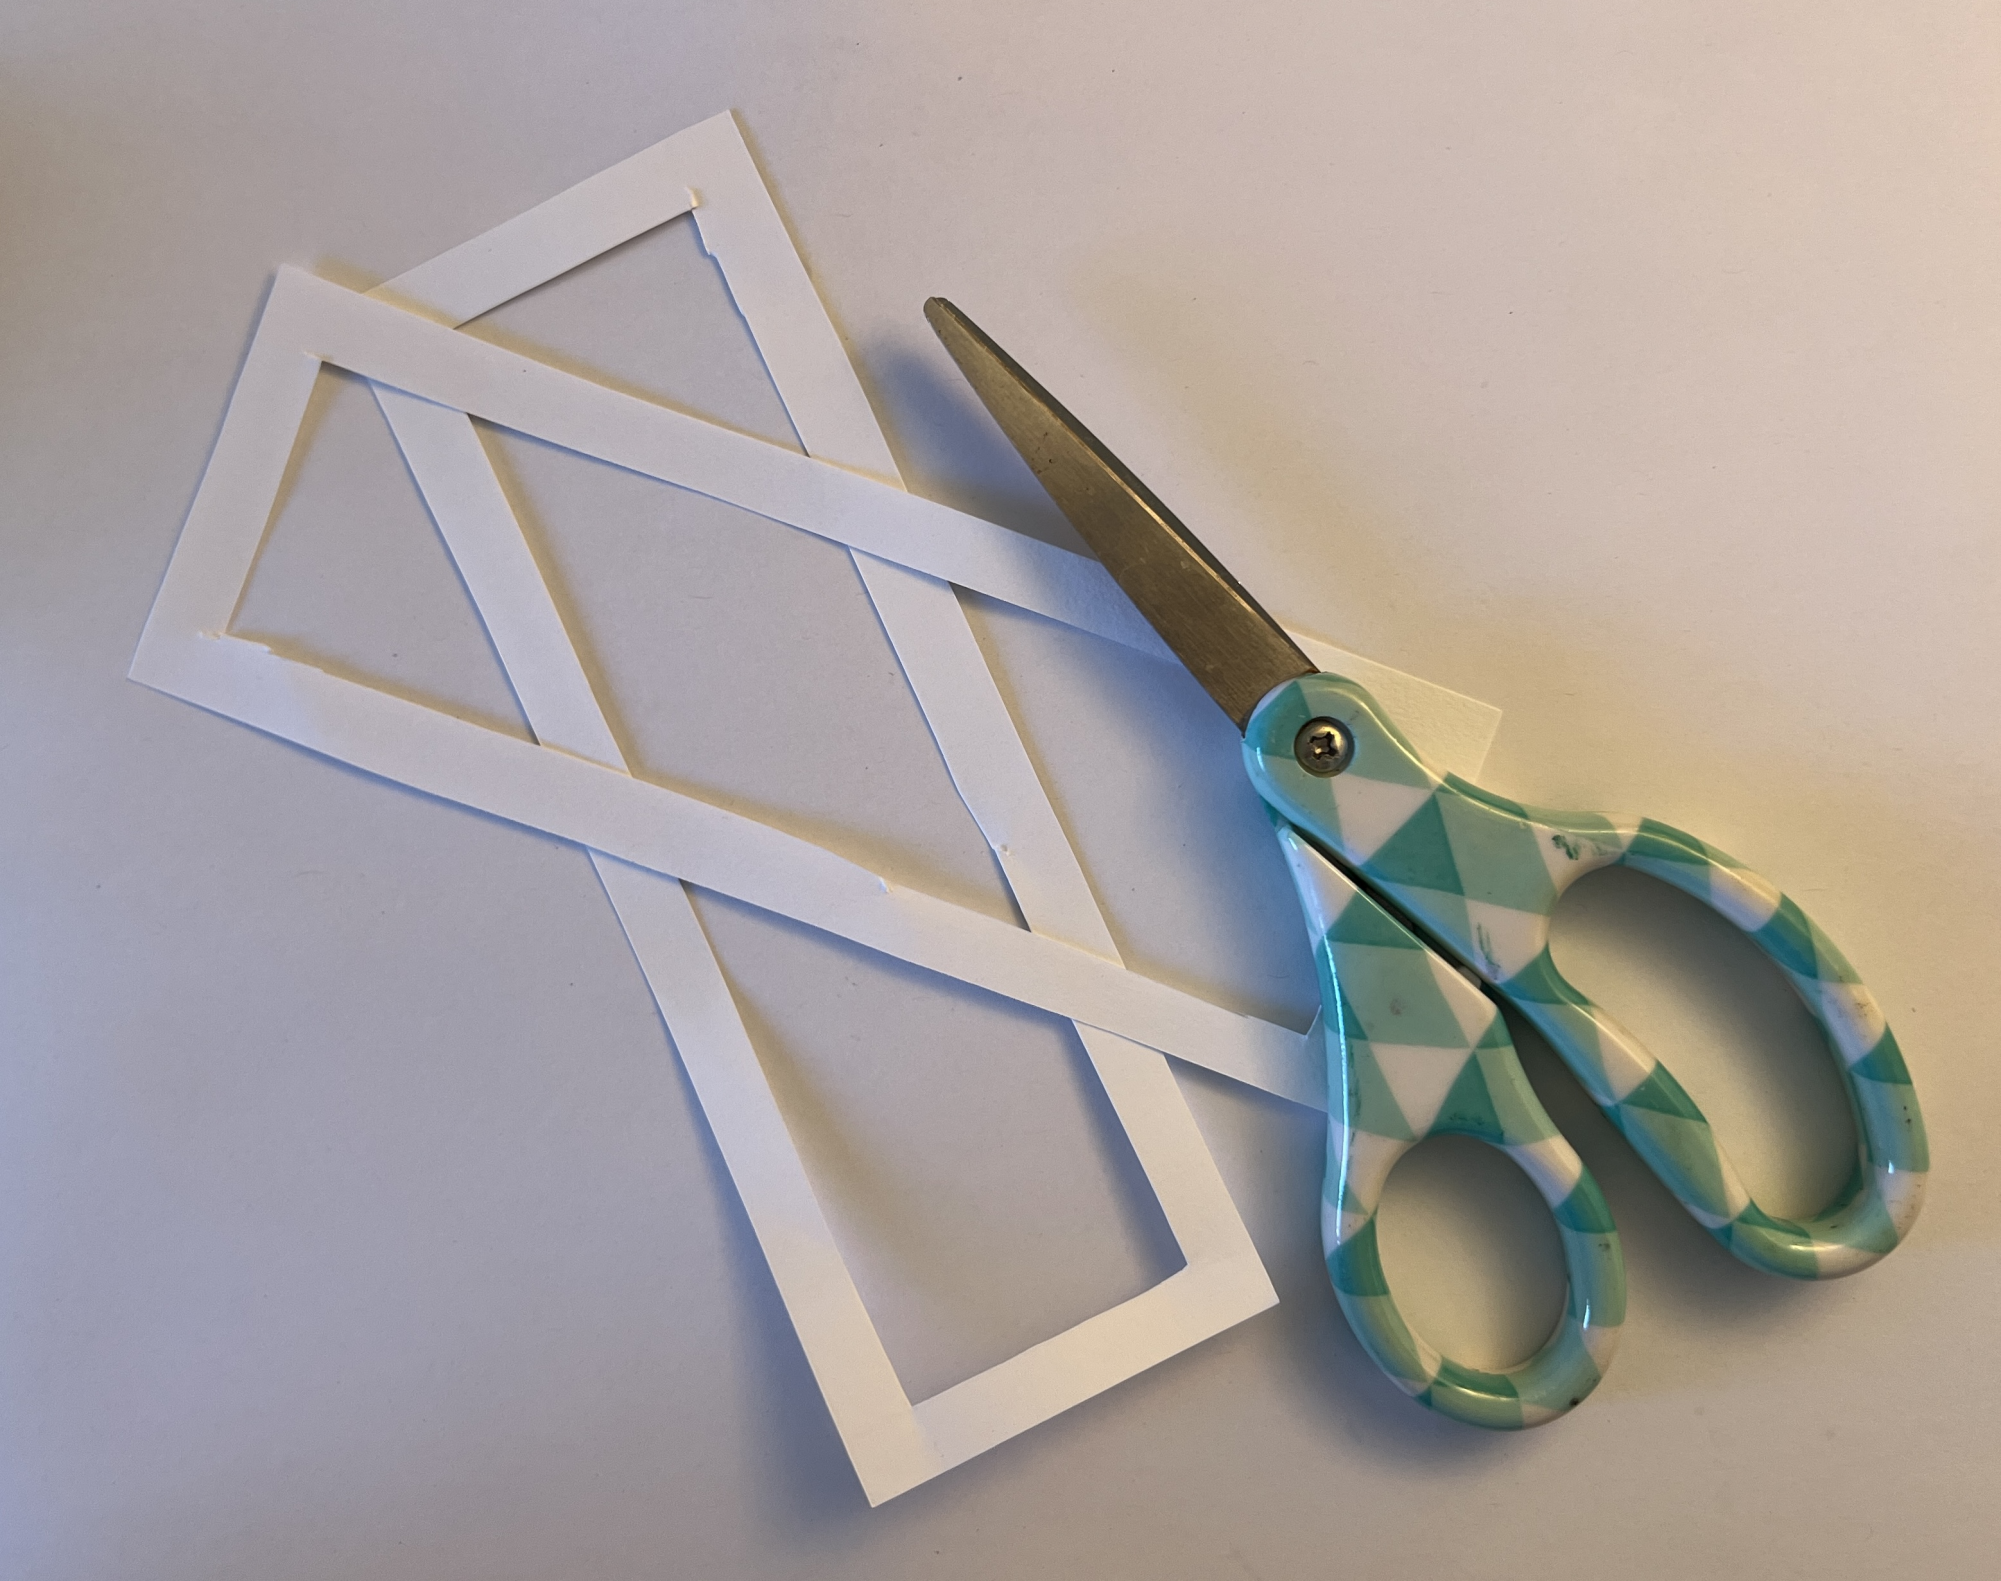
8. Use Mod Podge to stick them all together, and you’re done!
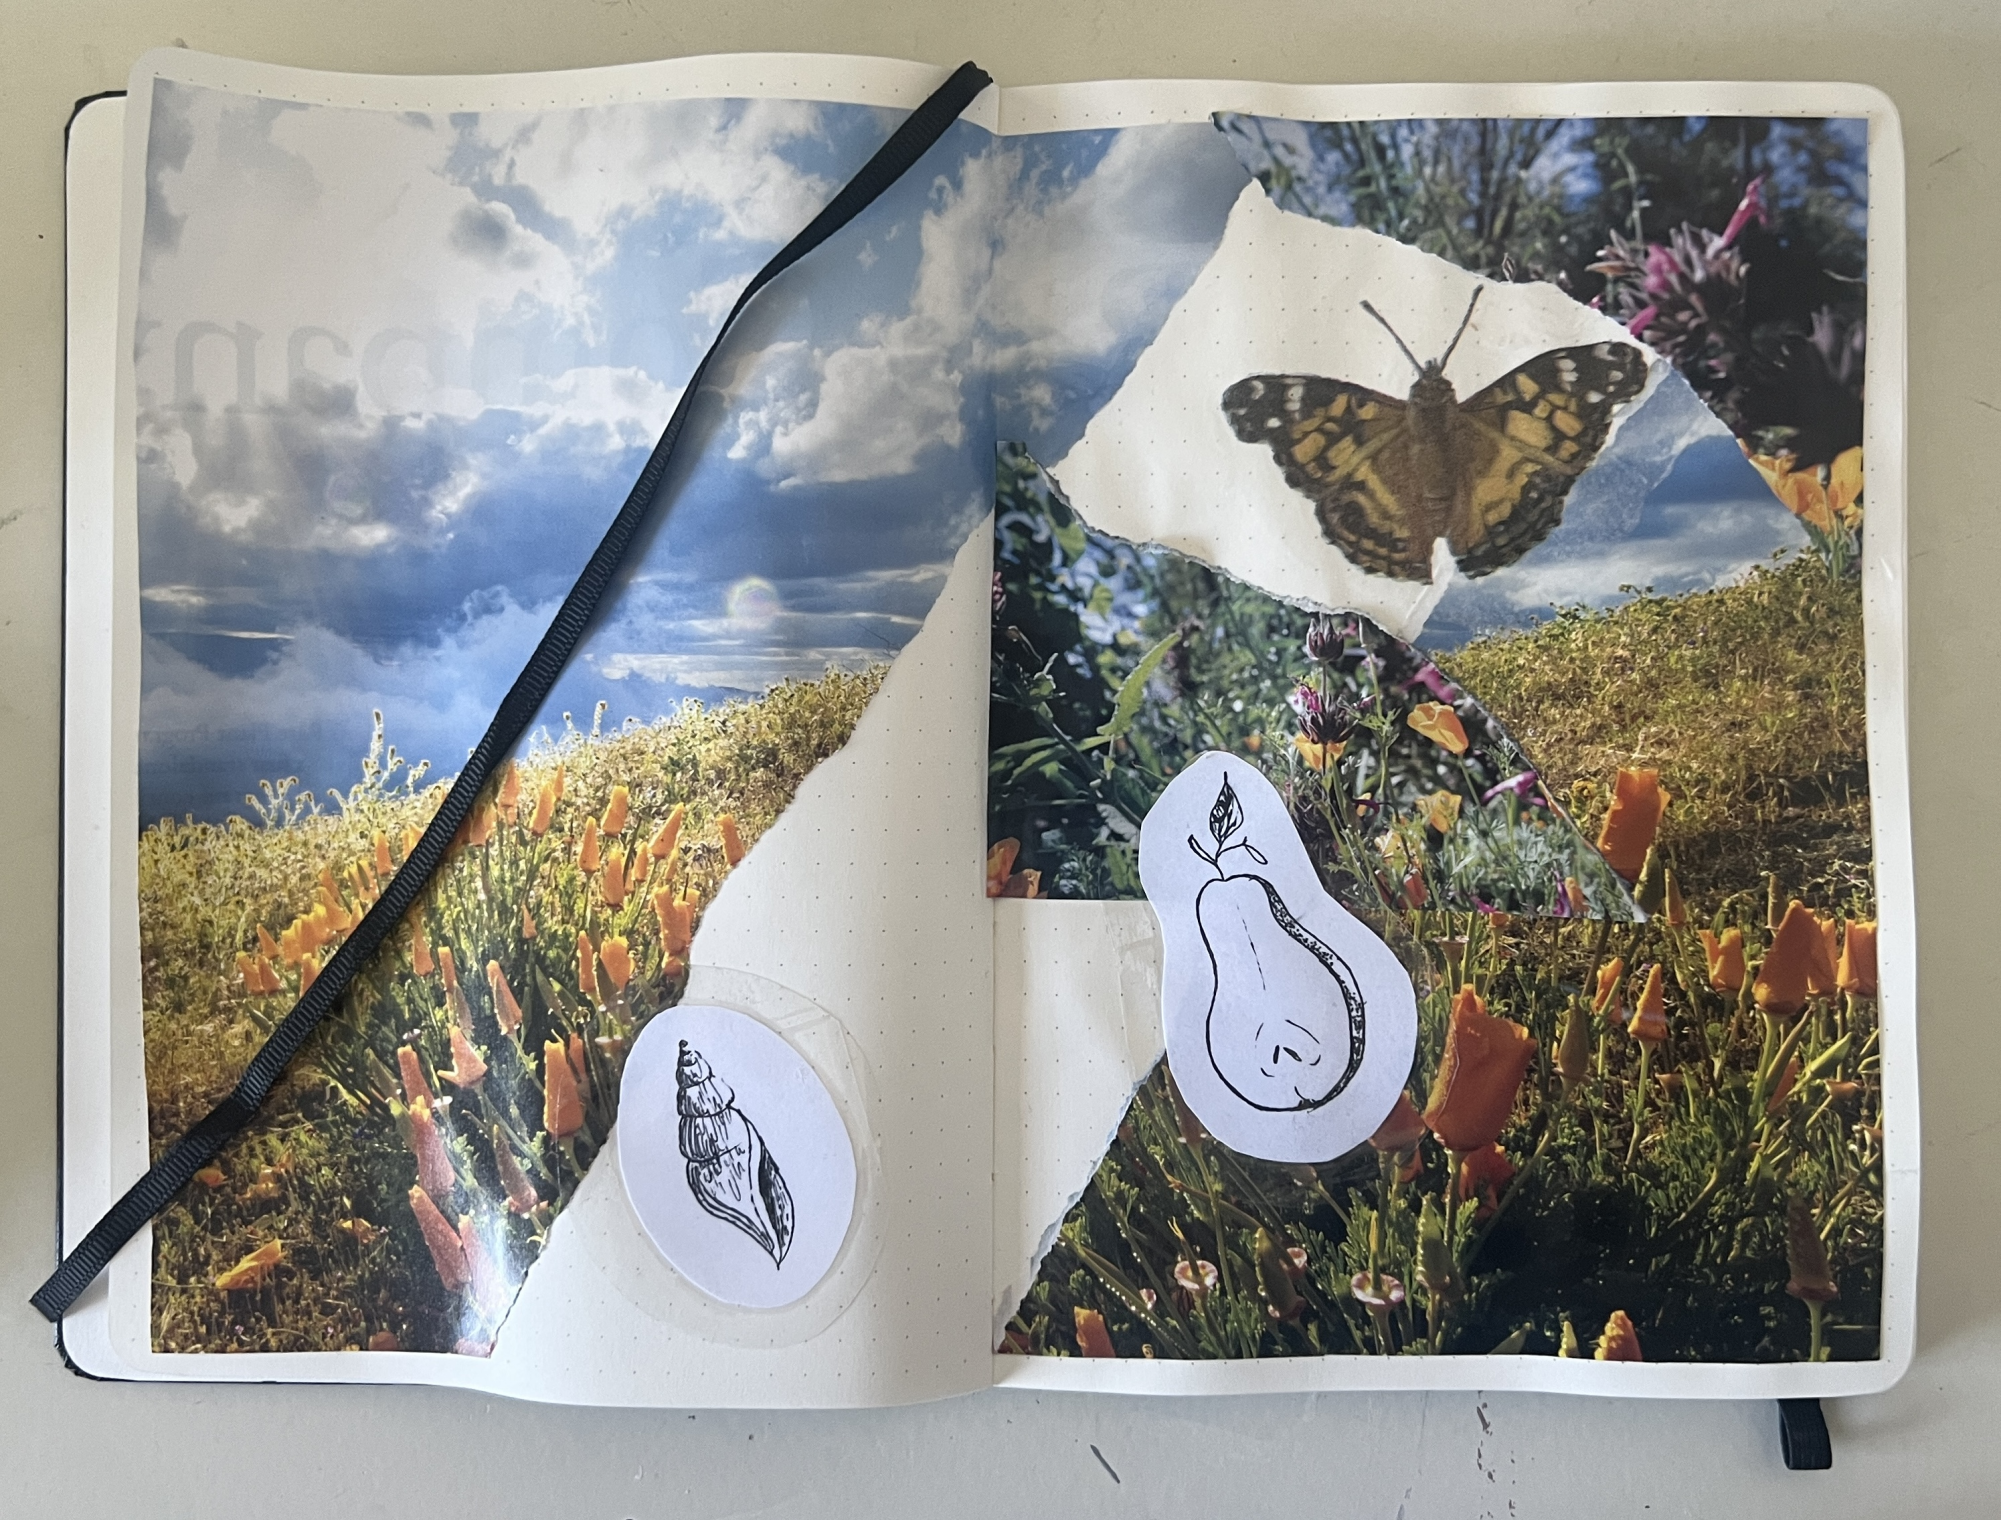
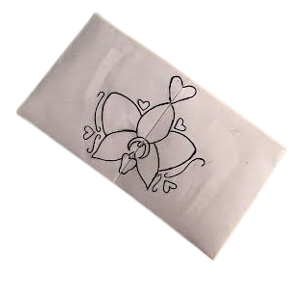
DIY stickers
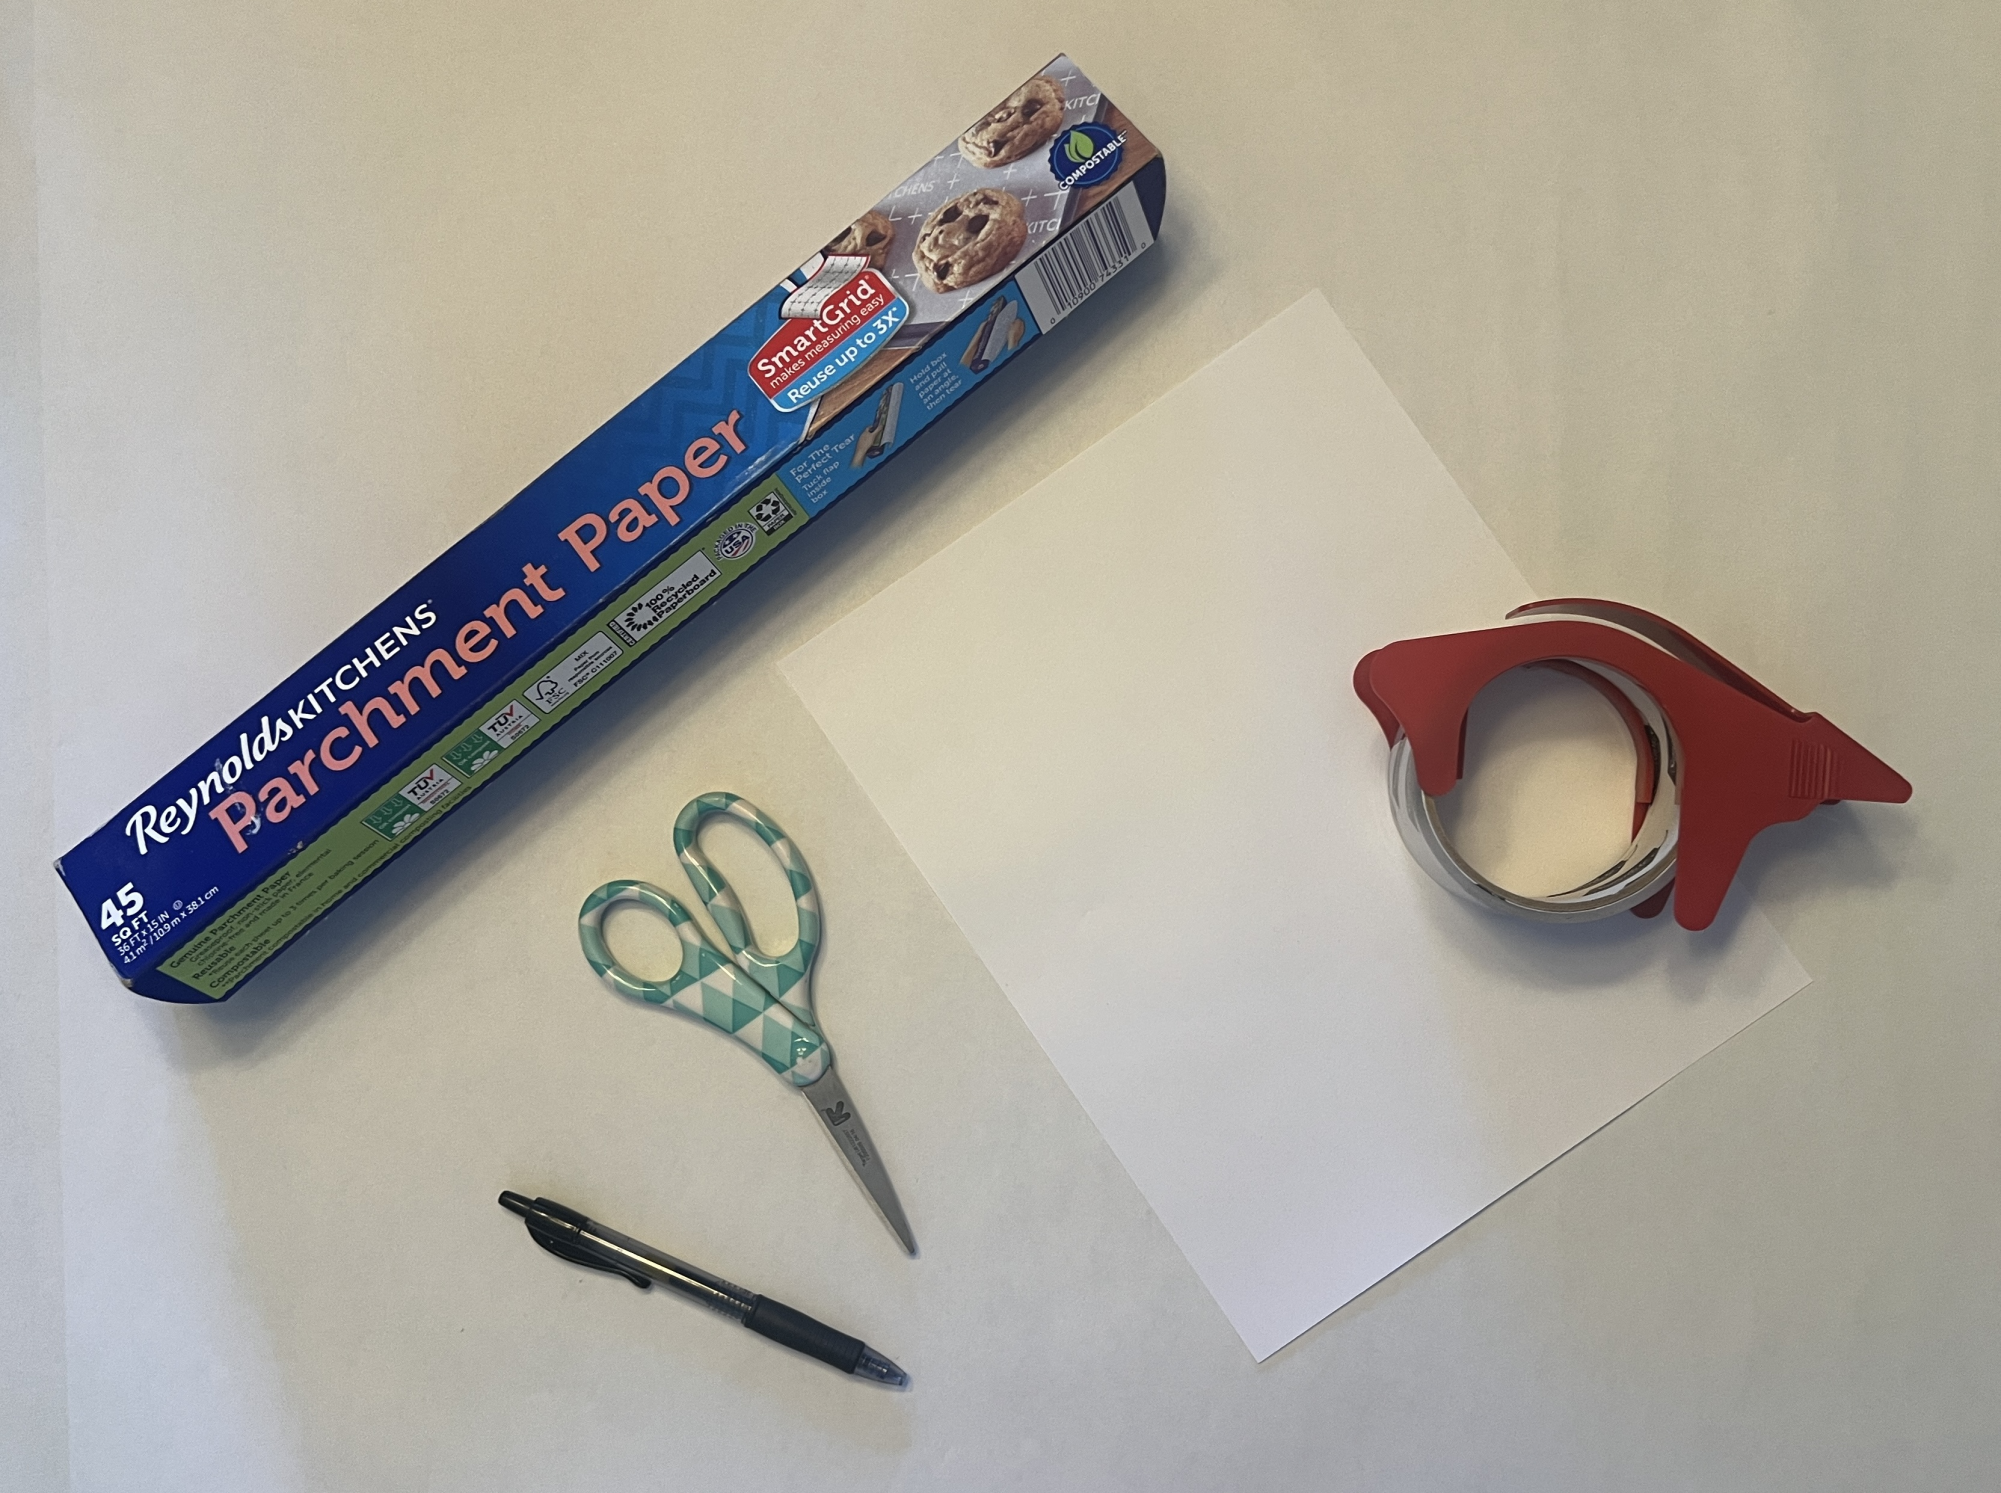
Creating your own stickers is a fantastic gift for friends who like to journal or scrapbook. It’s so easy to make little doodles and turn them into stickers with some parchment paper and packing tape:
1. Make some small doodles on a piece of paper, and cut them out to the desired shape and size of the sticker.
2. Grab a piece of parchment paper that will fit all the doodles and cover it with strips of packing tape.
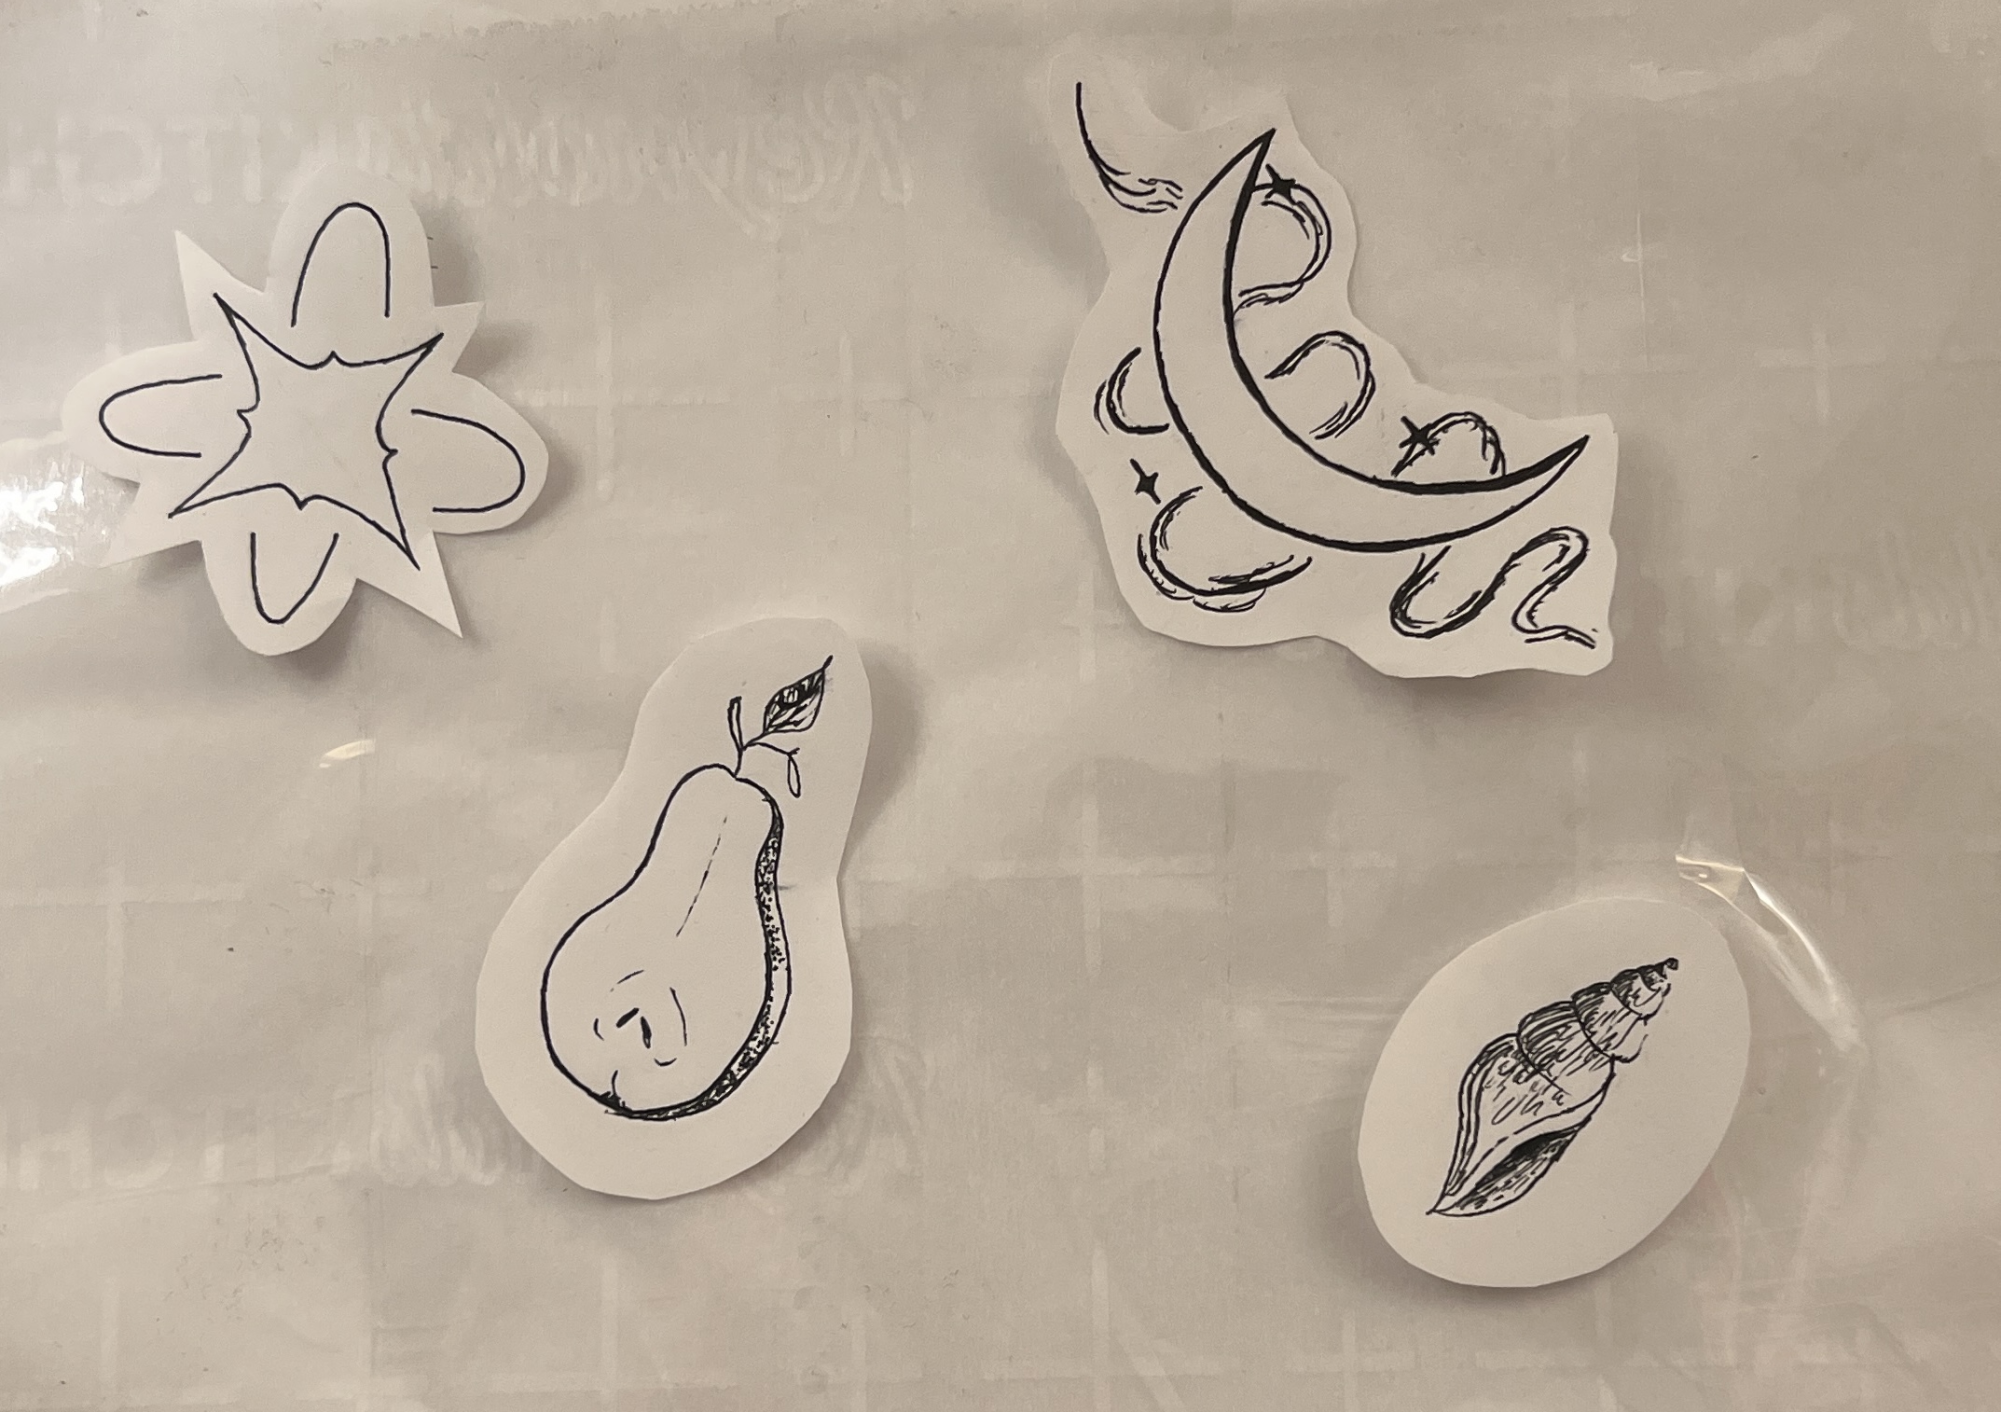
3. Spread out the doodles and cover them with another layer of packing tape.
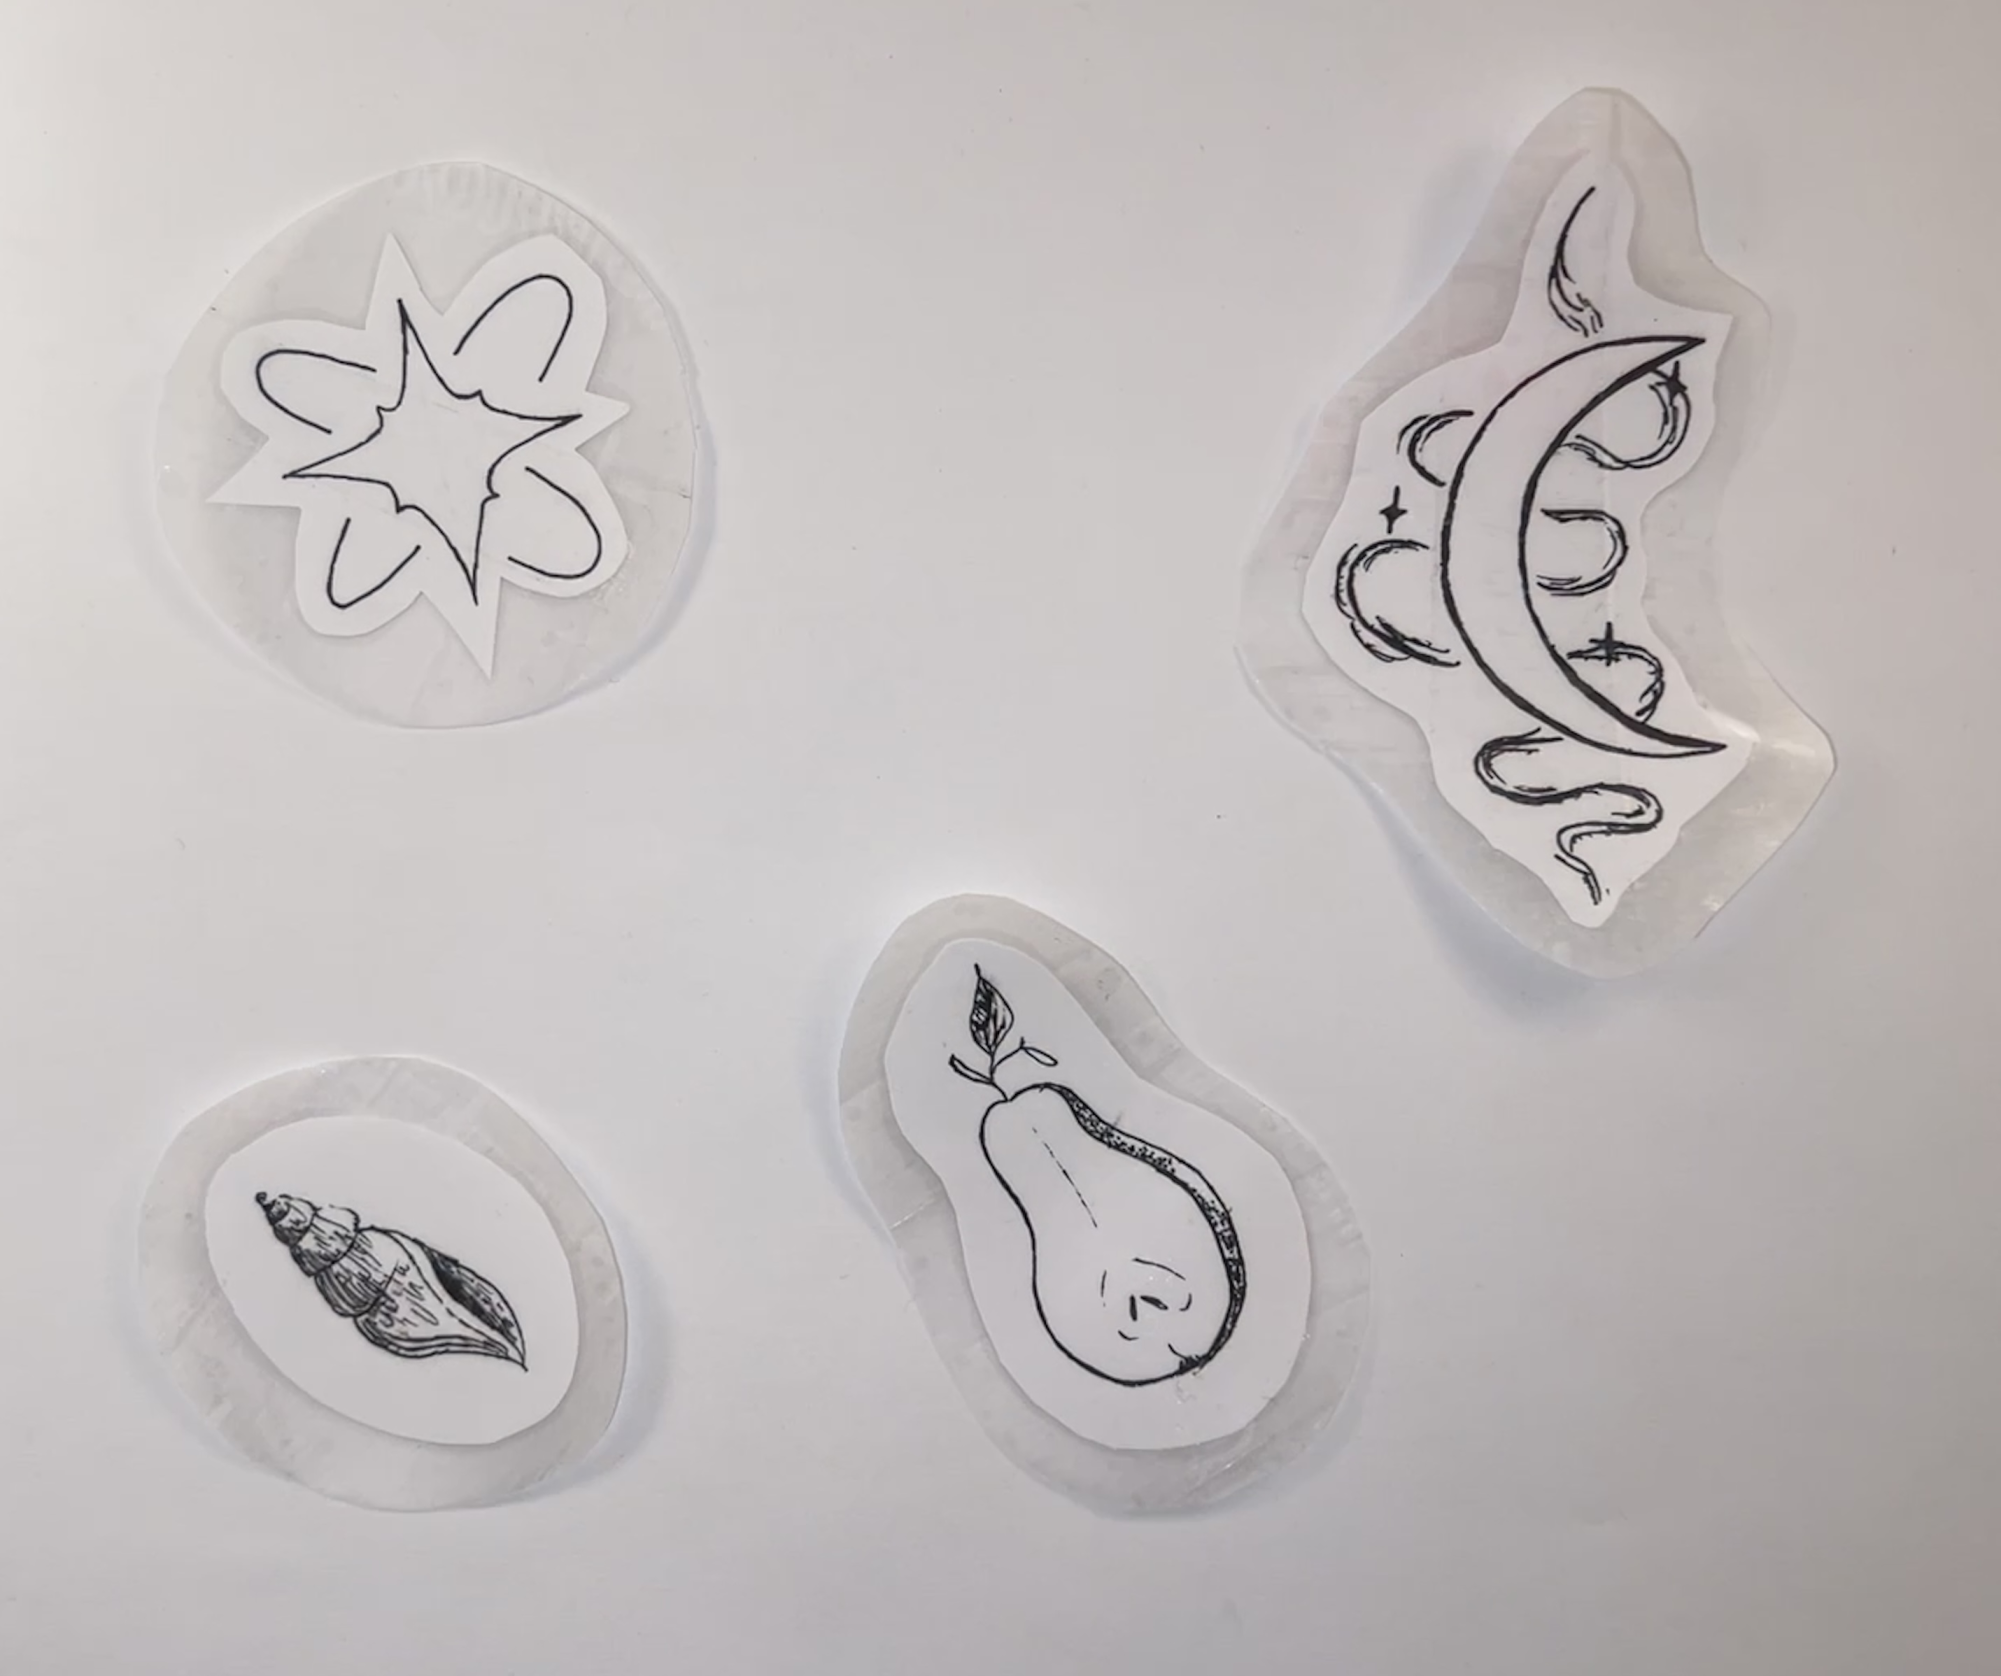
4. Cut out each individual sticker and peel off the parchment paper to stick one.